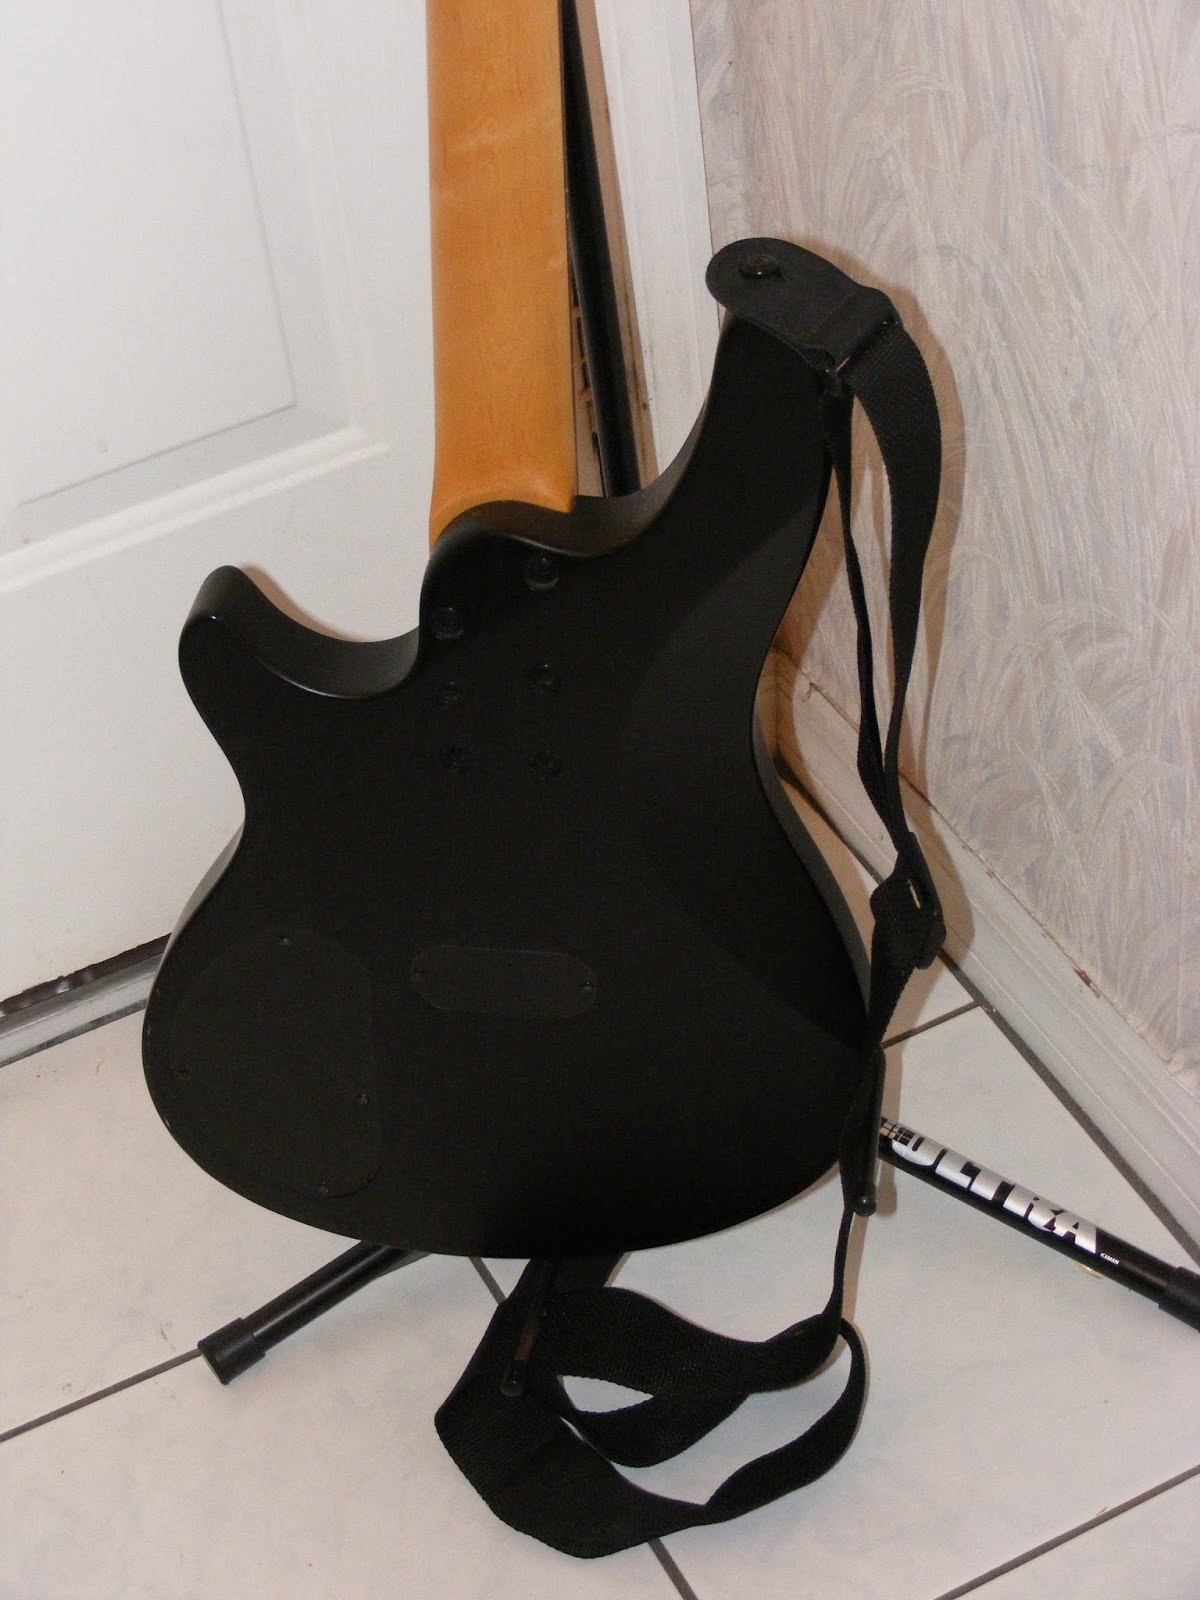
Showing posts with label Bass. Show all posts

Tuesday, May 29, 2018

A Big Muff Slice Of Pi (A Guitar Pedal Story)

One of the most well known guitar pedals of all time is the Electro Harmonix Big Muff Pi.  Yes, it's really called that.  There are countless versions, clones, and kits for every type of Big Muff you can think of, and a few you didn't.

Back when I was working at an independent guitar shop, the shop carried Electro Harmonix (EHX) pedals and tubes.  It was then that I bought my first Big Muff Pi guitar pedal.  Recently, I found out the version I have is version 8.  Also known as the Black Russian version.  Namely, because the outside housing is black and it was made in Russia.

I also happened to find out that it was extremely valuable on the used instrument market.  It seems bass players liked that version since the pedal didn't go into full blown distortion when the gain was set at 1 or 2.  Basically version 8 had the most usable, as well as widest amount of distortion of all the models.

Bass players could set the gain between 1 and 3 and it would be the perfect amount of gain for them.  Guitar players who would need more could turn the gain up, and it would be perfect for them.  For my tastes I liked the gain set between 3 and 5.  It made a nice breakup at that setting, and not go into full blown Smashing Pumpkins at that level.

So I faced a dilemma.  Do I put this valuable pedal on my pedalboard?  Also, one problem with this model, is that, it only took a 9 volt battery.  It couldn't be powered by a 9 volt power adaptor or modern day power brick.  However I found solution.  I would buy a DIY pedal kit.

EHX Big Muff Pi Replica Complete Kit

A company called General Guitar Gadgets (GGG) sold DIY pedal kits for all the different versions of the Big Muff Pi.  I thought, "Hell yeah!  This will be great!  I'll build my first kit, and learn a few things in the process!"

(Note:  While I did learn a few things in the process, many life lessons are learned the hard way.  Keep reading.)

So I ordered the kit.  Here's what it looked like when it arrived.


I did upgrade to the larger pedal housing (1590BB.)  So far my cost was just under $70 including shipping.  That's what I figured it would be, so I was alright with that.

Next, I dropped the housing off to be powder coated.  I had American Powder Coating in Tampa do the work.


I have to say they did an outstanding job.  It was better than I expected.  What I didn't know, is that, most of the cost is for sandblasting, handling, and baking the housing.  Even though they didn't use much paint, there as much labor as there would be for a larger part.  So the cost of the powder coating was $40.  However, I do want to be clear that they did an outstanding and amazing job.

I also ordered a few parts from Small Bear Electronics.  I wanted to put some green chicken head knobs on the pedal, as well as, use a different LED light.  So I bought a few lights in case I blew one up.  I also bought some capacitors for future guitar projects.  With shipping it came to $12.


Next, I had to organize everything.  To make things simple I taped everything to a piece of cardboard and labeled it.


That took a while.  But I was quite happy with myself.  Next, it was time to solder everything in.


We'll fast-forward here.  Let's just say I put a couple of hours work into this.  Next up was running the wires to the pots and jacks.


Next up, it was time to see if it worked.


It lights up so it must be working right?  Um, no.  I tested everything I knew how to do, and then thought it over.  To make a long story short I called Mike Jay at Pro Audio Electronics in Tampa.  Mike is a great guy, and said to come on over.

He had an apprentice at the shop and this was the perfect project for him to learn on.  Something I learned right there was that Mike and his technicians had a lot of specialized tools that I didn't.  It took a while to get the pedal working but Mike told me, "Other than reversing the NPN bipolar junction transistors (4 of them), a few cold solder joints, and using two wrong resistors you did it perfectly!"  At least he said it in a way that we all could laugh at.  Yeah, I had to laugh at that.

He told me not to worry about paying him for the pedal work.  I had done all the hard work, and it was a learning experience for his apprentice.  I also figured it was also because I just had $400 worth of work performed on an amp not too many months ago.  I did tell him that since he had used seven small pieces worth of parts (the transistors and the resistors) I should at least give him seven dollars for the parts.  He said he would put it towards pizza money.

Once his team got the pedal working it was like an anvil had been lifted off my back.  I was so thankful.  I also swore this was the last pedal kit I was ever going to try.  I really don't have the specialized equipment that his shop had.

So I brought the pedal home, and started to label it.  I had bought some stickers from Michaels for $3.00 just for labeling this pedal.


Okay yes, it's very sparkly.  I didn't think it would be this sparkly.  When I picked the pedal color out at American Powder Coating I knew it would sparkle like on a motorcycle tank, but I didn't think it would have that much sparkle in it.  I thought it would be darker, that's why I bought the gold sparkle stickers.  However, they ended up being much more sparkly than I thought.  So my pedal looks like it was hit by Kerry the Sparkle Fairy.


So the big question, how does it sound?  Honestly, I don't think it sounds as good as my original Big Muff Pi.  Although, the one amp I ran it through isn't that great, and the other was being contrary.  It looks like I might end up taking that one to Mike Jay, huh?

Honestly, I think I need more time with it.  The one thing I really like, is that, like my Big Muff Pi, it has a wide range of tones.  I think I just need to find the right one for me.

So what's the total cost of this adventure?  Let's see...

$70 for the kit.
$40 for the powder coating.
$12 for the small parts.
$ 7 for the pizza fund.
$ 3 for the stickers.
________________________

$132. total.

Of course, I had to buy a new soldering iron for this project.  My old one didn't have a super fine tip.  I can't really add $22 for a new iron to this project since I'll use it for years to come.  However, it was an investment I had to make for this project.

After I had completed this pedal project I found out some new information.  EHX likes making re-issues of different models of the Big Muff Pi.  It turns out version 8, the Black Russian version, is now called the Bass Big Muff Pi.


Remember how I said that bass players liked that version?  Well, they came out with this this reissue to make them happy.  It only costs... $81.40?  Wait!  So it was just cheaper to buy this, and not do all that work?  I could have just ordered it from Musician's Friend with free shipping?


Remember what I said earlier about life handing out hard learned lessons?  Well, this is it.  At least I have a niffy guitar pedal to remember this lesson by.  

Tuesday, January 30, 2018

The Juggernaut

I'd been looking for a jazz bass guitar for years.  So I can say I was excited when Dean Guitars came out with the Juggernaut model.  No, not this Juggernaut.


What I am referring to is their copy of the Fender Jazz Bass.  Here's the link:

http://www.deanguitars.com/query?upc=814064021587

Dean wanted something on par with the Fender Mexican Jazz Bass.  The Juggernaut is made in one of the Korean factories, but I'd have to say I find them pretty much even in terms of quality and playability.

About six months ago I wandered into a guitar shop that will remain anonymous.  They had a few Juggernauts in stock.  I tried to trade a Schecter bass plus cash to purchase one of the Juggernauts.  However, I was given a pretty insulting offer for the Schecter.  Let's just say I could have sold the Schecter's pickups for what they offered me for it.  So needless to say I walked out.  I hated to because the Juggernaut was on sale for $349.

Fast forward to about a week ago.  I was in the area of the unnamed guitar shop, so I decided to drop in on a whim.  They had one Dean Juggernaut left, and it was marked down to $205.  I played it and talked to the bass salesman. 

I found him to be a very kind and knowledgeable person, and told him I would like to flat out buy it.  He said as far as basses go, he found them to be a hidden gem in the shop.  I know folks would point out that a salesman would of course say something like that.  But at that price he wasn't making any commission on it.  It was a blow out price.  He would have made more money selling me a pack of bass strings.

He recognized me, and I told him about the last time I was in the store.  He then recalled what happened.  I told him there was no hard feelings about the offer on the Schecter since the price came from his boss, and not him.  Although I did mention they would have actually made a profit if they would have accepted the trade plus cash offer the first time I was in the store.

So I bought the bass home, and set it up.  I honestly think it would have sold faster if it has been set up properly.  I'm sure a lot of players would have tried to play it, and found the strings way too high.  It just needed a good set-up.  I am very happy with it.  Of course, I'm sure I will change the pickups since I can't help but chasing sound.

This also means I have to sell an instrument since I've purchased one.  I actually have a guitar and a bass for sale on Craigslist right now.  Once I sell either one I'll recoup the money I spent on the Juggernaut.

So onto the photos:


Thursday, October 19, 2017

The Rick Bass Project, Part 2: The Boat Anchor

Here is the first part of the Rick Bass blog post:

http://angjellockheart.blogspot.com/2017/08/the-rick-bass-project-part-1.html

So things haven't gone so well on the Rick Bass project.  Not only was I unhappy with the wood the body was made out of, something on the body kept the stain from really soaking in.  The C.A. glue wouldn't even let any stain go over it.  Then, when I put the Odie's Oil over the body, the Odie's Oil wouldn't stick to any of it.

So I just decided to make my own bass body.  This way, I could decide what wood I wanted to use, and make it my way.  First off, I had to be reminded of some rosewood that I had hidden.  I had used this piece on an earlier project.  So yes, it's that big of a piece of rosewood.

I'll skip a lot of the steps since they are somewhat redundant.  Basically I took the piece of wood, cut it, and glued the outside edges together.  The outside has the sapwood which is white colored.  When I glued the edges together it made a lightning streak down the middle.  Here's the photo of it so you can get an idea of what I'm talking about.


Here's a picture of the wood wetted down so I could have a better idea what it would look like when it would have finish on it.


Here's the back.


Here's where I traced out the old body on the rosewood.


And once I took the wood to the band-saw this is what I came out with.


Not too shabby, huh?  Again, please note that this took some time and very careful cutting on the band-saw.


Here's another photo of the wood wetted down.  It really makes the color pop.


Next I used a spindle sander to smooth out the sides of the body.


I have to say, that's some of my best work.  I do have to give credit to using really high quality sandpaper on the spindle sander.

Next came the hard part.  I had to mark out the lines where the routs would go.  Again, I'm making this short, but I really had to take my time on this.


Here's where I have laid out the lines for the neck pocket and control cavity rout.  I also used a forester bit to cut away some of the wood for the control cavity.  Doing that will make it easier for me to work the router.


And the question, "Does it weight a lot?"  Oh yes.  It can double as a boat anchor.  It's insanely heavy.  But I have a feeling that it will have tone for days.  It will as long as I can stand it hanging on my shoulder.

Sunday, September 4, 2016

All About That ... Well, You Know

I finally bought a piece of musical equipment that I have never had.  A combo bass amp.  But before I get into that, let me catch you up.  You see, I bought a Dean Razorback for a great price.   Here's a picture of it.


However, I didn't really have a use for such a metal guitar.  I don't really play metal much anymore.  And even if I do, I still have a few other guitars that I would use to play that style of music.

So I decided that I really needed a Fender Blues Jr., Mark 3 combo amp.  It would be perfect for carrying and playing coffee shops.  So I traded the Dean Razorback for the Fender Blues Jr. 

I didn't really care for the sound of the EL-84 tubes, but then I read on the internet about a "mod" kit to make it better.  So I did that.  I also added $80 worth of expensive tubes.  Not only that, but I added a pretty good speaker to it.


Guess what?  I still didn't like the sound.

Here's the link to everything I did with that amp:

http://angjellockheart.blogspot.com/2016/08/fender-blues-jr-new-mod-day.html

So I sold it off.  Now I have money burning in my pocket.  What to do?  Should I hold on for a rainy day?  Should I buy another guitar amp?  Maybe this time a Fender Hot Rod Deluxe with the 6L6 tubes? 

But I thought about it, and realized I already had amps that were better than that.  What I didn't have was a bass amp.  I had two basses, but no bass amp.  I had been using an old SUNN Alpha 212R combo amp for a bass amp.  It came from the 70's when both the guitar and bass players plugged into the same amp.


A bass amp is what I needed, but what kind?  The immediate answer that most players would say is, "Buy an Ampeg and be done with it."  But there's kind of a problem.  St. Louis Music which used to own Ampeg sold it off.  The new ones are made overseas, and they have had nothing but problems.  My former bass player had one of the new ones, and it was in the shop something like over 15 times.

I thought about Kustom amps, both the old and new models.  However, they don't really have a gain setting on them.  They are some of the best looking amps, but looks don't make the sound. 

So they were off the list.  So I went into Guitar Center, and tried out a few amps.  I also made the smart move of taking one of my own basses.  The bass amps that really impressed me the most were the Acoustic Amp series of amps.  (Acoustic is the brand name.  It is not an acoustic guitar amp.)  They were big in the 70's, and had recently come back from the dead (business wise.) 

I really liked the B100 model.  It was a 100 watt amp with a single 15 inch speaker.  It also had a simple four band EQ, and a gain setting.  Frankly, it was everything that I needed and nothing more. 


It's perfect for small gigs and coffee houses.  Honestly, I'll probably use it more for recording than anything.  It's not too big, and it's not too small.  Although, I'm sure I will be told that I'm, "too loud" while playing in the house. 

Saturday, August 6, 2016

New Bass Day: My First Schecter

Today has been a good day.  After hounding a guy for (today included) three days I have a new bass.  Despite having upteen guitars in my lifetime, I have only had four (including this one) basses in my life. 

Here's the story.  I was checking late at night on Craigslist, and saw a listing that simply said, "Bass Guitar - $120."  So I clicked on it.  After checking reading the ad, I had to do some research.  He didn't actually list what kind of bass it was.  I could see the Schecter logo on the headstock, but I had to blow up the image to see the model it was.  It was a Damien 4.

I saw that they weren't made anymore, but when they were new they cost $550 new.  On the used market they were going for $250 to $350.  So this was a good deal.... maybe.

I still had to check it out.  I admit, I broke a couple of my own rules in buying this bass.  The guy had been given the bass to him for his son to try out.  His son didn't like it, and it sat unplayed for a quite a while.  So when I checked it out I noticed the neck was pretty bowed.  But I ended up getting "Luthier muscles" and thought, "I can fix anything!!!!!"

So I met the guy in a Walgreens parking lot.  This also broke another  rule in that, I didn't test the bass out through an amp.  I'll admit, I was 50/50 on buying the bass.  The neck was bowed, and it hadn't been played in a while.  But that part of me couldn't let go, so I went ahead and bought it.

When I got it home it didn't work, but I was expecting that.  I was sure the battery was dead.  I performed the tongue test, and the 9 volt battery was completely dead.  So I slapped a new battery in it, and it started to work.  However, the electronics needed cleaned out.  I got to that later, and the pots worked just fine.

The big problem was the neck.  It was really bowed.  So I did my usual luthier thing, and was not happy with myself.  The neck did not want to bend.  So I walked away for a bit, and checked the online videos from the Godfather of guitar repair himself, Dan Erlewine. 

I realized that I was in fact, human, and had made a mistake (which I won't say what it was here.)  So I went back out to the workshop, performed my super secret repair, and managed to get the neck as straight as it was going to get.  It's no Tobias or Modulus, but it's much better than a Squier.  Due to the truss rod not being set for years, it was going to have a little warpage.  However, I still have it set up better than 90% of the basses at Guitar Center. 

Next, it cleaned it up a bit.  Since it hadn't been played, it was pretty dusty.  I gave it a moderately good cleaning.  It still has a few dings, dents, and marks, but I'm not overly worried about that.

The other good part about this deal was that I received a Roadrunner bass soft case and a Levi's guitar strap along with the bass.  I think Guitar Center wants $40 for a bass case, and $20 for the strap, so I really can't complain about the deal.  Well, I can't complain now that I have the neck straightened out. 

So now, onto the pictures!!!!!


Wednesday, February 10, 2016

The Bass! Part 5, The Real Punk Rock Bass

So I have had a long series of posts about this bass.  Here are the previous posts.

Part 1.

http://angjellockheart.blogspot.com/2014/10/the-bass-there-are-no-such-things-as.html

Part 2. 

http://angjellockheart.blogspot.com/2014/10/the-bass-part-2.html

Part 3. 

http://angjellockheart.blogspot.com/2014/10/the-bass-part-3-punk-rock-bass.html

Part 4.

http://angjellockheart.blogspot.com/2014/10/the-bass-part-4.html


So what could possibly happen that this time around with this bass?  To make a long story short, I have already replaced the pickups, the bridge, the pickguard, and moved the output jack.  I also refretted the neck, because honestly, those frets where more or less falling out of the neck.

But after a bit of time, I had to realize that the neck was hopeless.  It was so warped that it had dead spots on it no matter what I did.  So when Guitarfetish had a sale on factory blowout parts, I searched for a bass neck.  Guess what?  I found one.

So I got it for a nice price of $30 plus shipping.  I think the S/H was around $10-$15, but I can't remember.  I got a good deal on it because it had not been cut for a nut yet.  So I cut the slot, and then had to order a bone blank from Hong Kong.  I could have bought it locally, but they want $10-$12 anywhere I looked.  So I bought it for $1.51 (shipping included) from China. 

I then cut it ever so nicely, and got it to fit.  I wish I could say the same thing about the neck.  The neck pocket was a little tight, so I had to shave off a bit of the underside of the neck to get it to fit.  But this bass is so beat up, what's a little damaged to one side?

But I had forgotten one thing.  The original tuners were crap.  So I went back to Guitarfetish, and ordered some cheap bass tuners $17.95 plus $12 shipping.  So my "cheap" project is not starting to get so cheap anymore.

The one thing that made me completely hostile was not the tuners themselves, but the screws that came with it.  I ended up breaking two screw heads completely off.  I've never had that happen in the entire time I have been repairing guitars.  Now, I had it happen twice on one project.  Just complete POS screws.

So let me get everything added up.

Bass - Free!
Bridge - $20
Pickups, pots, and parts - $65
Pickguard - $17
Neck - $40
Tuners - $30
New Strings - $20
Time working on bass - ... a lot.

Total - $192

Mmmm.  Maybe I should have just bought a Squier?  I mean, it still doesn't exactly play that great.  The neck pocket is too deep.  I mean, I'm already shimming the crap out of it.  I might have to shim it some more.  It's just been a money pit.  But I only have myself to blame.  I can never let a project go. 


And to be honest, if I did want to part it out, I can still do that with some of the parts.  Namely, the pickups, bridge and neck.

But still, we don't do this for the money.  We do it for the love of music.  But man, does music have to be so expensive?  If I ever fail as a musician I can always use this as a boat anchor.  I wonder what a fishing Captain makes?

Friday, October 24, 2014

The Bass! Part 4,

Part 1:  http://angjellockheart.blogspot.com/2014/10/the-bass-there-are-no-such-things-as.html

Part 2:  http://angjellockheart.blogspot.com/2014/10/the-bass-part-2.html
Part 3:  http://angjellockheart.blogspot.com/2014/10/the-bass-part-3-punk-rock-bass.html

So I had been waiting on the bridge to arrive, and it finally did. 


While it was not an exact replacement of the old one, the saddles lined up just fine.  And in the end, that's what's important.

I then had to deal with the pickguard not lining up exactly.  However, the use of a long screw took care of a, now, tiny problem.


As you can see, it worked out pretty good.  It holds rather nicely.

However then came a problem I did not forsee.  This happens with older guitar or bass necks.  With no tension on it, the neck is straight.  But with the strings at full tension the heal kicks up.  So I am torn between having insanely high action, or the frets not being playable from the 12th fret up. 

Now, the normal way to correct this is to yank out the frets below the 12th fret, shave the fingerboard, and replace the frets.  However, the fingerboard is maple, and if I shave it I will have to re-finish it.  Right now, I don't have time for that.  I have to make the bass somewhat playable for the next gig. 

Once we cross that bridge, I will go back and start work on it.  I might be able to shave the frets down, and make it playable.  But I'll deal with that when I get there. 

I knew I would be a pain to put this thing together, but I didn't think it would be "THIS" much of a pain.  I did a lot more work on this thing than I had planned to. 

But here's the result.  Not too bad.