Showing posts with label woodwork. Show all posts

Wednesday, June 6, 2018

Mirror, Mirror

Last year I decided to buy a few subscriptions to home craftsman magazines.  It was while I was looking through one of these magazines that I saw plans for building a old timey mirror.  I thought, "Hey, that doesn't look too hard to build!  I can make two of them for friends!"

So, long story short, I decided to build two mirrors.  One made of mahogany and one of maple.  What I didn't know, is that, I kind of suck at it.  Of course, I didn't know that then.  Maybe I shouldn't be too hard on myself.  It was my first attempt.

In the end I managed to get the frames somewhat straight.  But that's when the real trouble began.  I suck at finish work.  Remember how I said that I was reading that magazine last year?  Yeah, I started on this project last year, and I'm just now writing about it.  And I'm writing about it now because I just finished it.

I tried a couple of different finishes, and ended up stripping them off.  That took a while.  I gave the oil finish a long time to dry, and it never did.  Like I said, I stripped the finish down, and started anew.

That was when I was given advice by my Dad.  He had learned a new way to apply an oil finish.  Basically he took tung oil and added a citrus solvent from Odie's Oil.  It thins down the oil so it soaks right in.  I have to say the results shocked me.

I am honest, in that, I suck at finish work, but using this stuff was idiot proof.  It gave the wood a smooth oil finish, and I didn't have to wait months for it to dry.  I only wish I had this product decades ago.  But you know, you live, you learn.

Now onto the pictures.  These first photos are of the mahogany frame.


Here's the maple frame.


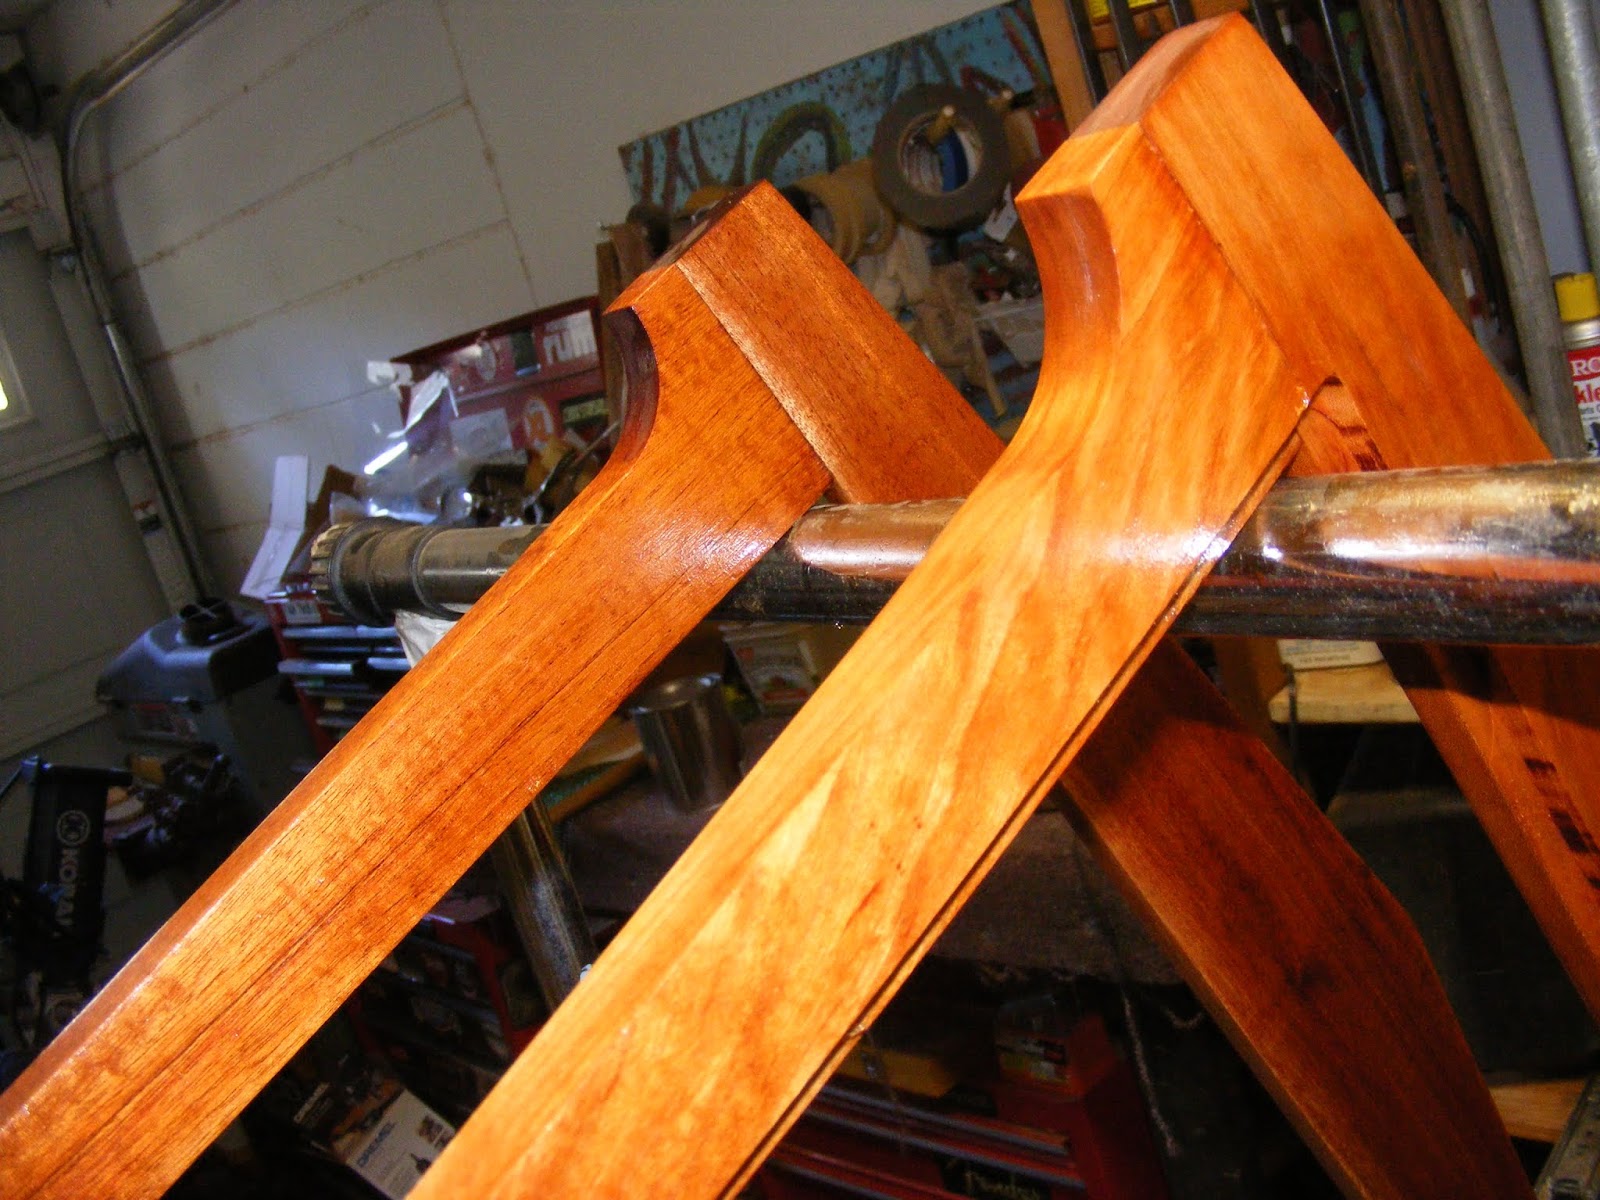
We'll fast forward past a lot of finish work.  Basically, it's just the frames hanging up and drying.


Next, I ordered the mirror's themselves from Holiga glass here in Lutz.


Next, I put lots of tabs around the back of the frame to hold the mirror safely.


And here's what they looked like once finished.  This is the maple mirror.


This is the mahogany mirror.


I gave the mahogany mirror to a longtime friend/lifesaver Paul.  Honestly, I probably owe him an entire household set made of out mahogany.  Yeah, it's true.

The maple mirror was a gift for my friend Jeannie.  She had a celebration last year.  I told her I was still working on her project, but it would be coming.  I was finally able to give it to her about two weeks ago.  I didn't know it then, but Jeannie loves all sorts of furniture.  So I guess you could call it serendipity that I made the perfect gift for her.  She was ecstatic with it.  

I'm glad the projects are now finished.  That means I never have to build another one again.  I kid, but not really.  It wasn't so much of a project so much as an albatross hanging around my neck.  But I will say this.  I have gotten better at finish work.  Thank you Odie's Oil.

Friday, June 1, 2018

I Made .... Another Table

To properly explain this post, here it's precursor.

I Made A Table!

Every month I try to build a table.  I ended up breaking my hand so my table making schedule has been off.  However, I managed to finish up one of small tables.  That's right.  I finished up table number three.  So what if I haven't finished up table number two?  I suck at counting sometimes.

Let's move on to the table.  First up I found a nice piece of camphor.


I decided that this would be perfect as an oval shape.


I wanted this to be very smooth so I had to fill in a lot of little holes and cracks.


Let's fast forward past a lot of sanding.  After that, it was time to add the legs.  I had a piece of mahogany that was perfect for the legs.


Fast forward a bit, and it's time for the finish.  I added four coats of a special mix of tung oil.  However, it wasn't shiny enough for me.  Since this had some nice flamed wood I really wanted it to shine.  So, long story short, I added seven coats of a special poly mix after the four coats of tung oil.


 After the final coat of poly I buffed out the table.


The funny thing is that I was able to craft the wood parts of this table pretty quickly.  It was all the finish work that took a long time.  However, I am glad I finally had the patience to keep adding the needed layers.  It really took this table to the next level.

Once my hand heals up I'm going to continue work on table number two.  That one is going to be a medium sized natural edge table.  Of course, I'm going to write a blog post about it.  I have a good feeling about that one.

Tuesday, March 20, 2018

Cutting The Cutting Boards

Ten years ago my Dad started woodworking as a hobby.  One of the first things that was suggested for him to build was cutting boards.  So he glued up a number of butcher block cutting boards.  He finished a number of them.  We use three of them in the house to this day.  Many more were given to relatives for presents.  However, there were still two that he never finished.

He put them away, and never got back around to them due to other projects.  Not to mention they were tucked away behind other equipment and wood.  I was cleaning out the garage when I came across the two unfinished boards.  It was then that I decided to finish the projects.

First up, this is what I was working with.


It was then that I found out why these were never finished.  I was thinking of planing the boards through my thickness planer.  However, I once I learned that they were constructed end grain up I thought better of it.  With the end grain sticking straight up a planer would chip it up in no time.

So I aimed to run it through my thickness sander.  That's when I discovered that the thickness planer needed some work.  Again, that's one reason the boards had been sitting for a while.  Without a thickness planer it would have to be sanded by hand.  Luckily, I had my mind set out to finish this, so it was onto work.

Luckily, I didn't have to sand  it all by hand.  I had the help of my belt sander and my random orbital sander.  So, I'll make a long story short.  There was a lot of sanding involved.  I started at 36 grit on my random orbital sander and 40 grit on my belt sander.  After that I sanded all the way up to 400 grit.

Here's what it looked like after all the sanding.


Pretty sweet right?  Dad did a good job putting these together.  The are made of maple, black walnut, and cherry.  So now the next part was to put the first coats of sealer on them.  I've been using a tung oil plus catalyst mix for my latest projects.  I love it since it's idiot proof.  Even I can't screw it up and that's saying something.  So here's a photo of the boards after one coat of the tung oil mix.


After this I will start applying butcher's block wax.  Once a few coats are added they will be ready to go.  The good news, is that, I already have a buyer interested in them. 

I have to say, I am extremely happy with the way things turned out.  I was also able to finish another project.  I have plenty of projects started, it's just finishing them that seems to be the problem.  So to cross one off my list feels good.

Tuesday, August 13, 2013

Adrian: Amatuer Craftsman, The Bathroom Cabinet, Part 1

I have a big empty space in my bathroom.  It's true.  Here's a picture.


Really big and empty huh?  For years I have thought of putting a cabinet there, but have never gotten around to it.  So I checked out Home Depot's cabinets and saw exactly what I wanted.  But then I read the reviews.  It seems the cabinet I wanted was made out of particle board with a lot of paint over it.  And they wanted $80 for it to boot.  The reviews were completely scathing, saying they should be ashamed to charge that much for such a piece of crap, and you still had to assemble it!

So I decided, "Hey, I'm a woodworker.  I can build my own cabinet."  And why not?  I have all this hardwood lying around, I might as make it for free!  I decided to make it in a folk art style.  Kind of an open cabinet meets folk art style.

I won't bore you with all the details, and how I completely overheated myself for the first time in 17 years.  No, it's picture time.  I didn't get a shot of it with naked wood.  So here it is after the primer coat, and one coat of paint.


You know what I just realized?  That is the back of the cabinet.  It sure is.  But that's okay.  Because I will most likely have two more blogs about this cabinet.  The second one will show the cabinet once it is painted white for the final time.  The third blog will show it on the wall, and with all the folk art designs on it.

Oh, did I not mention that?  Yes, my girlfriend Lili (not her real name) and myself will paint some designs on it to match my bathroom.  I'm sure this will look great once it's all complete. 

Stay tuned for more.

Wednesday, May 29, 2013

Repairing Josh's Guitar, Part 2

For Part 1, read this:

http://angjellockheart.blogspot.com/2013/05/repairing-joshs-guitar-part-1.html

I'll start from where I left off last time.  Basically I had glued the guitar's neck back together, and had sanded the rough cracks even.  I had added stain and the first coat of wipe on polyurethane. 

My next steps where just adding wipe on poly once a day for a number of days.  Once I had done that I decided to buff out the neck on my buffing machine.  Here's the pictures from that.


I have to say that I am pretty happy with that.  I wasn't sure how it was going to come out.  Honestly, I have to say this was my best work on a cracked neck.  But truthfully, no two cracked guitar necks are the same.  But I was able to get this repaired, and the truss rod still works fine.  That's a giant relief.

So next was making the bone nut.  Since Josh  had lost the original plastic nut, I had to build him a new one.  I won't go over step by step on how I made it.  Only know that I put a good amount of time into it.  I hadn't made a bone nut in years, and there is a real art to it.  You can put a lot of time and effort into making one, and despite your best efforts it can come out like crap.  Like I said, there is a real art to it. 

But I'm glad to say it came out great.  Here are the pictures of me making it.


If you wonder what the black marks are, those are graphite from a pencil.  It helps slicken the grooves so the strings slide easier. 

Next up was double checking how the poly on the back of the neck had dried. 


I gotta say, I am really pleased with how the guitar came out.  I set it up, and it plays really nice. Now let's hope that Josh won't do something else dangerous to this guitar.