Showing posts with label woodworking. Show all posts

Monday, October 14, 2019

Something's Been Wrecking My Birdhouse

Back in March I wrote a blog post about building and putting up new birdhouses.  We have so many birds around here it made sense to have plenty of birdhouses for them.  Here's the post:

The Birdhouse Community Apartments 

Like any woodworker/artist/bird enthusiast I take pride in my work.  This what the birdhouse looked like after I hung it up back in March.


I was taking a stroll past the birdhouse the other day, and became infuriated.  I looked at my birdhouse, and thought, "What am I looking at?"


So I took a closer look.


Closer....


Okay, now I'm mad.  I'm more than mad.  What you are looking at is the birdhouse's squirrel guard.  Something had destroyed the guard to enlarge the hole.  The reason I put the guard there was because squirrels like to climb into the birdhouses and eat the eggs or young chicks.

Right now, here are the suspects.

First up, a squirrel or squirrels.


I suspect this monstrosity was chipping away at the birdhouse to get to baby chicks.  They are a malevolent bunch.

Suspect #2:  Idiot woodpecker.


Okay, it's technically this is called a pileated woodpecker.  But they like going around putting holes in things.  Although it's really working against it's fellow birds' self interests by enlarging the squirrel guards.  We have dozens of trees around the property.  Why did this redheaded asshole decide to destroy my birdhouse?

So that's my story so far.  If the hole gets worse I may end up replacing the squirrel guard.  If it gets even worse than that, I will just replace the whole birdhouse.  The backyard should be on alert.  I'm keeping an eye on all the birdhouses.  Nature should know I'm not above employing underhanded techniques to protect my birdhouses.

Wednesday, June 6, 2018

Mirror, Mirror

Last year I decided to buy a few subscriptions to home craftsman magazines.  It was while I was looking through one of these magazines that I saw plans for building a old timey mirror.  I thought, "Hey, that doesn't look too hard to build!  I can make two of them for friends!"

So, long story short, I decided to build two mirrors.  One made of mahogany and one of maple.  What I didn't know, is that, I kind of suck at it.  Of course, I didn't know that then.  Maybe I shouldn't be too hard on myself.  It was my first attempt.

In the end I managed to get the frames somewhat straight.  But that's when the real trouble began.  I suck at finish work.  Remember how I said that I was reading that magazine last year?  Yeah, I started on this project last year, and I'm just now writing about it.  And I'm writing about it now because I just finished it.

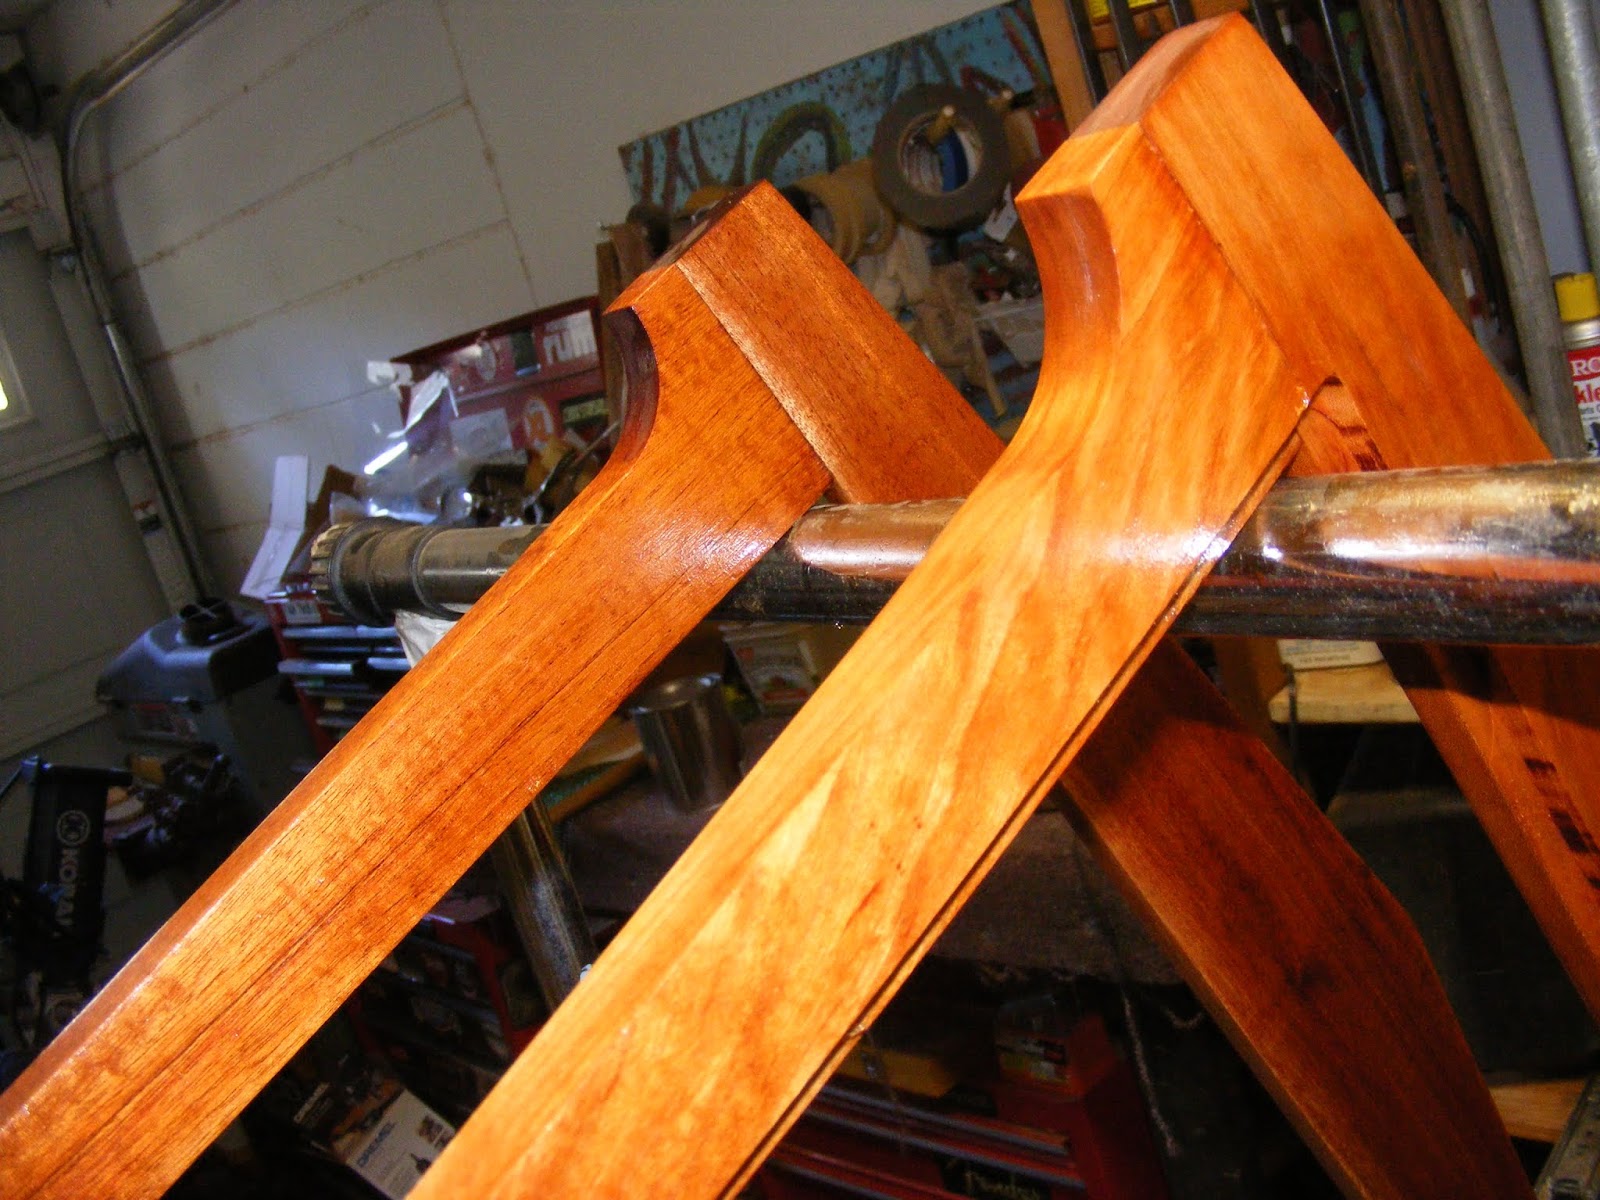
I tried a couple of different finishes, and ended up stripping them off.  That took a while.  I gave the oil finish a long time to dry, and it never did.  Like I said, I stripped the finish down, and started anew.

That was when I was given advice by my Dad.  He had learned a new way to apply an oil finish.  Basically he took tung oil and added a citrus solvent from Odie's Oil.  It thins down the oil so it soaks right in.  I have to say the results shocked me.

I am honest, in that, I suck at finish work, but using this stuff was idiot proof.  It gave the wood a smooth oil finish, and I didn't have to wait months for it to dry.  I only wish I had this product decades ago.  But you know, you live, you learn.

Now onto the pictures.  These first photos are of the mahogany frame.


Here's the maple frame.


We'll fast forward past a lot of finish work.  Basically, it's just the frames hanging up and drying.


Next, I ordered the mirror's themselves from Holiga glass here in Lutz.


Next, I put lots of tabs around the back of the frame to hold the mirror safely.


And here's what they looked like once finished.  This is the maple mirror.


This is the mahogany mirror.


I gave the mahogany mirror to a longtime friend/lifesaver Paul.  Honestly, I probably owe him an entire household set made of out mahogany.  Yeah, it's true.

The maple mirror was a gift for my friend Jeannie.  She had a celebration last year.  I told her I was still working on her project, but it would be coming.  I was finally able to give it to her about two weeks ago.  I didn't know it then, but Jeannie loves all sorts of furniture.  So I guess you could call it serendipity that I made the perfect gift for her.  She was ecstatic with it.  

I'm glad the projects are now finished.  That means I never have to build another one again.  I kid, but not really.  It wasn't so much of a project so much as an albatross hanging around my neck.  But I will say this.  I have gotten better at finish work.  Thank you Odie's Oil.

Friday, March 2, 2018

I Made A Table!

Yes, my title is a reference to that awful Lou Reed/ Metallica song.


But no, I actually built a small altar table.  I was given a piece of oak that was pretty much a throwaway slab.  The cut of wood was near the outside of the trunk so it had not only sapwood, but part of the bark.  Here's how it started out.


Next, I cut it into an oval shape.  Here's the top.


And here is the bottom.


The edge of the slab, where the bark was, had a lot of wormholes.


I thought, "That's great!  It will make it more authentic."

Now that it was an oval shape, it was time to plain/grind/sand it into a table top.  In these photos I'm fast-forwarding past a lot of the boring sanding work.  So here's the top after all of that.


And here's the bottom.


Here are the final measurements.

29 inches long.


19 and a half inches wide.


And 2 3/4 inches thick.


And honestly it feels like it's about 50 pounds... at least.

Next, I had the help of my Father who turned small wooden legs on his lathe.  Again, we're fast-forwarding in the photos.  Here are the legs being glued into the table.


So once the glue had dried and set up, it was time to perform the fine sanding.  The table was already pretty smooth considering.  However, with the help of my electric hand sander the table became as smooth as glass.

Next came the finish work.  I've never been great at finish work.  In fact, I've been downright awful.  However, my Dad showed me a way to combine tung oil with a catalyst to give the table a beautiful finish.  Here's the photos after four coats of finish.


The tung oil finish really delivered what I wanted.  I didn't want a glossy finish, but I didn't want it to look bare either.  The tung oil gave me that perfect "in the middle" finish I was after.

I'm going to give the finish on the table plenty of time to completely harden.  After that it is going up for sale in a local shop.  I hope it'll be exactly what someone has always wanted.  Right now, it's off to the next table.  So I might be posting another blog about a table next month.

Sunday, December 10, 2017

A Dog And His Boy

One of the reasons I started this blog so many years ago was not only to tell tales of destruction for fun and profit, but to write down all the stories I've collected.  After 600 blog posts I've told quite a number of my stories, so I thought it was time to write one about someone else.  Namely, my Father.

It was the summer of 1957.  My Dad was almost ready to turn eight years old.  He lived in the backwoods of West Virginia, so with the exception of automobiles and a black and white television, life still closely resembled 1857 in some ways.  I can hear his voice saying, "Come on, it wasn't that bad!"

There aren't many pictures of my Dad from that age, and the ones that exist are in rough shape.  But the first time I saw a photograph of my Father from that age I immediately said, "You look exactly like Timmy from Lassie!"


As was the norm back in those days my family had rabbit hunting dogs, namely beagles.  Now my Dad was not allowed to hunt until he was sixteen, but he did take care of the dogs as well as other duties on the farm.  So even though he hadn't quite turned eight years old, the duty to build a doghouse for his dog Penny fell to him.


You have to remember the times.  My Dad didn't have access to power tools.  If he wanted to cut a 2X4 he had to cut it with a handsaw.  If he wanted to hold the wood together he had to either drive a nail with a hammer, or use a screwdriver to run the screw through the wood.  He didn't have a power drill to do the hard work. 

My Grandfather had access to a lot of scrap wood from whatever carpentry project he was working on at the time (namely houses and bridges.) That meant my Dad didn't have to chop down a tree or anything like that. But when it came to the actual work, my Dad put it all together with old timey hand work.

Just for comparison, if you know a seven year old (going on eight,) ask what have they done lately? Does it involve playing Pokémon? Does it involve watching TV? Or have they performed any old time carpentry lately?
So Dad finished building the doghouse for Penny.  He was proud of his hard work.  But dogs and especially beagles are finicky creatures.  Remember how Snoopy liked to sleep on top of his doghouse?


Well, Penny decided to dig a hole underneath the doghouse and sleep there.


That's right.  She completely avoided the nice living space that Dad had built, and dug right underneath the doghouse to create a little den.  Penny must have thought she had a little wolf in her.  Honestly though, if you've never encountered a hunting dog, they are a bit different than a house dog.  They have a bit more attitude and aggression than your cocker spaniel house dog.  

Most people, especially kids, would have been discouraged or mad.  But that's never really been my Dad's style.  He just had to laugh about it, and realized a beagle is going to do what a beagle wants to do.  If Penny wanted to sleep in her little den beneath the doghouse then he figured she had made up her mind to do so.  Nothing he could do would change that. 

Also, could you get mad at a face like this?


Nah, didn't think so.


Thursday, November 2, 2017

Woodworking: Wax Ecstatic

Dad recently found a shortcut when processing wood.  When the wood is rough cut, it is still wet and prone to cracking.  For this reason woodworkers put a seal on the ends.  There are a few products on the market, but Anchor Seal always worked well for the woodworkers I knew.  The only problem was that it was so sloppy to put on.

Dad was checking some woodworking forums, and they told of an ingenious way of sealing wood and not spilling sealing wax everywhere.  Basically, you take an old fashioned crock pot, fill it with water and wax, then heat it up.  The wax will float on top, and the water will keep the temperature down low enough so the wax doesn't catch fire.

Here's a photo of what I'm talking about.


A lot of woodworkers like using a mixture of mostly paraffin wax mixed with a little bit of honeybee's wax.  However, I was lucky enough to find a box of red sealing wax free on Craigslist.  What I didn't know was that it was about 50 pounds of wax.  Great find, huh?


It came in small pencil sized pieces.


Due to the sealing wax being so hard, you can put mineral oil in the mix so the wax will be softer when it hardens on the wood.  We haven't had this problem since we mixed paraffin wax with the red sealing wax.

Once the wax is soft and in a liquid state, you can then dip the ends of the wood in the wax.


As you see it makes it easy to dip the wood in, and looks professional.  It also keeps the wax from spilling everywhere.  It's a win/win!

So, if you ever need to seal the ends of your wood/lumber, remember this way of sealing it.  Oh, and for those who didn't get the title reference.  Take a peek at this.


Thursday, January 26, 2017

Quilted and Birdseyed? It Does Exist!!!

So I am always on the quest for tone, but in between then I am always on the look for more tools, parts, and wood.  And boy did I find some.  It seems that Pete from Viable Lumber had a maple tree from California dumped on his doorstep.  When they cut it they found this:


That's right.  It the exclusive curly maple.  But that's not all there is!  A birdseye pattern made it in there too!


This is a pretty good chunk of wood.  This particular piece was about four inches thick.  Here's some more wood goodness.


I know you can't tell from this picture, but that piece is more than three feet across.  (Dang near four.)  The length of this is right around eight feet. 


You can see the parts where the tree branches split, but there is still enough space to cut out a one piece maple top.  And you could easily get a rough 1 inch to make a smooth 3/4 inch top.  That way you can put an arch on it, and it will be a solid curly maple top.

Some of you might say, "Hey, I've seen Epiphone guitars that have tops like that.  Why is this so special?"  Well, my answer is this.  What is actually on the really nice Epiphone guitars is a mahogany body with a plain maple top.  Then they put a paper veneer over that maple top so it looks like it is curly maple.  The pattern you are seeing is actually printed out on a big roll.  It's not wood, it's paper. 

This is the real deal.  My Dad's friend said that the last time he checked, the price of highly figured curly maple like this was $96 a board foot.  So feel free to do the math on what this piece of wood costs.  And before you make me an offer, know this.  It's already off to the Florida Woodturning Symposium.  It might be sold even as I type this. 

I hope whoever buys this makes some great things out of it.  Since it's going to a wood-turners meeting, I'm guessing it will be made into things that can be turned on a lathe.  So bowls, plates, cups and such are all likely to be made from this lovely wood.  I wish the best for whoever purchases it.