Showing posts with label maple. Show all posts

Friday, January 11, 2019

New Year/New Project: The Tenor Guitar Project

This is the first post of the new year, and it's going off with a bang.  I decided on building something I've wanted for a long time.  But I took an odd route to get there.  Let me explain.

I found a neat website for cigar box guitars.  It's called C.B. Gitty Crafter Supply.

https://www.cbgitty.com/

I was thinking about building an inexpensive guitar, but then I noticed a few things on their website.  First, they actually have four string electric humbucker pickups.

https://www.cbgitty.com/cigar-box-guitar-parts/pickups/deltabucker-deluxe-4-string-maple-cigar-box-guitar-humbucker-pickup-pre-wired-with-volume-and-tone-no-soldering/

That made me think that I could build something with a cello tuning.

For those who don't know my musical beginnings started with me playing cello at age 12.  If there's one thing that every 12 year old dramatic teenage celloist wants, that's a guitar to play cello on.  What I didn't know then, is that, those guitars actually exist.  They are called tenor guitars.  They are a shorter scale, smaller guitar, and they are tuned like a cello, A, D, G, C.  Here's an example of one.


I wish I had known about these when I was a teen.  It turns out that tenor guitars were popular in the 1950's but not so much anymore.  Only a few companies manufacture them anymore.  The most famous for electric tenor guitars is Eastwood Guitars.

So now, since I am a builder of musical instruments, I can build a tenor guitar the way I want to.  First up, I know it will be a four stringed instrument, and it will have a 23 inch scale.  I will build it in the style of an archtop guitar.

Electronics will be simple.  I will have two humbuckers, one 3 way switch, one volume, one tone.  The woods will be pretty standard.  Spruce top, mahogany body, maple neck, rosewood neck, rosewood floating bridge.

Now, I decided to do this the smart way.  I actually drew out the plans on graph paper.   Here's a photo of my plans.


Next up, I had to acquire the spruce, but I had all the other woods hanging around here.


Here's the spruce being glued up.


I already had access to radiused rosewood fingerboards.  So I took one out, and shaped it.

I've always used a three piece neck method for building necks, but I decided to make one the way most manufactures do these days.  In other words, a scarf joint.  It all started with a giant chunk of old maple I had hanging around.


Within that board I found a really nice straight section.  I built the neck from that piece.


From there it was time to make the scarf joint.  How do you like my homemade jig?


Yes, it's oversized for a few reasons.  I wanted to make sure I had plenty of wood to work with.  Better too much than too little.  Since the neck is only four strings it won't be as wide.  That means it will need to be thicker for more support.  In the next photos you can see where I am planning on installing the trust rod.


Right now I am gluing up the mahogany body.  Admittedly, this will not be like a typical hollowbody.  I will glue the halves of the body together, and route it out.  I know, it's a hell of a waste of good mahogany.  But it works.  Also, I don't have side bending equipment or jigs, so this is the one way I know how to do this.  

 
A lot of the parts for this build I already had.  I will use a violin tailpiece for this project.  It actually fits perfectly.  I already had some old Schaller tuners that have been sitting in a drawer for a long time.  They will be perfect for this guitar.  I already have pots and copper wire.  The same with bone nuts.

The only things I had to buy were a few templates, a 3 way switch, violin tailpiece cord, a book, a fret slotting miter box, and the pickups.  Unless something odd comes up I think I have all I need for now.

So that's where I am so far.  Look for more upcoming blogs about this project.  I'm all ready to put this one together.

Wednesday, June 6, 2018

Mirror, Mirror

Last year I decided to buy a few subscriptions to home craftsman magazines.  It was while I was looking through one of these magazines that I saw plans for building a old timey mirror.  I thought, "Hey, that doesn't look too hard to build!  I can make two of them for friends!"

So, long story short, I decided to build two mirrors.  One made of mahogany and one of maple.  What I didn't know, is that, I kind of suck at it.  Of course, I didn't know that then.  Maybe I shouldn't be too hard on myself.  It was my first attempt.

In the end I managed to get the frames somewhat straight.  But that's when the real trouble began.  I suck at finish work.  Remember how I said that I was reading that magazine last year?  Yeah, I started on this project last year, and I'm just now writing about it.  And I'm writing about it now because I just finished it.

I tried a couple of different finishes, and ended up stripping them off.  That took a while.  I gave the oil finish a long time to dry, and it never did.  Like I said, I stripped the finish down, and started anew.

That was when I was given advice by my Dad.  He had learned a new way to apply an oil finish.  Basically he took tung oil and added a citrus solvent from Odie's Oil.  It thins down the oil so it soaks right in.  I have to say the results shocked me.

I am honest, in that, I suck at finish work, but using this stuff was idiot proof.  It gave the wood a smooth oil finish, and I didn't have to wait months for it to dry.  I only wish I had this product decades ago.  But you know, you live, you learn.

Now onto the pictures.  These first photos are of the mahogany frame.


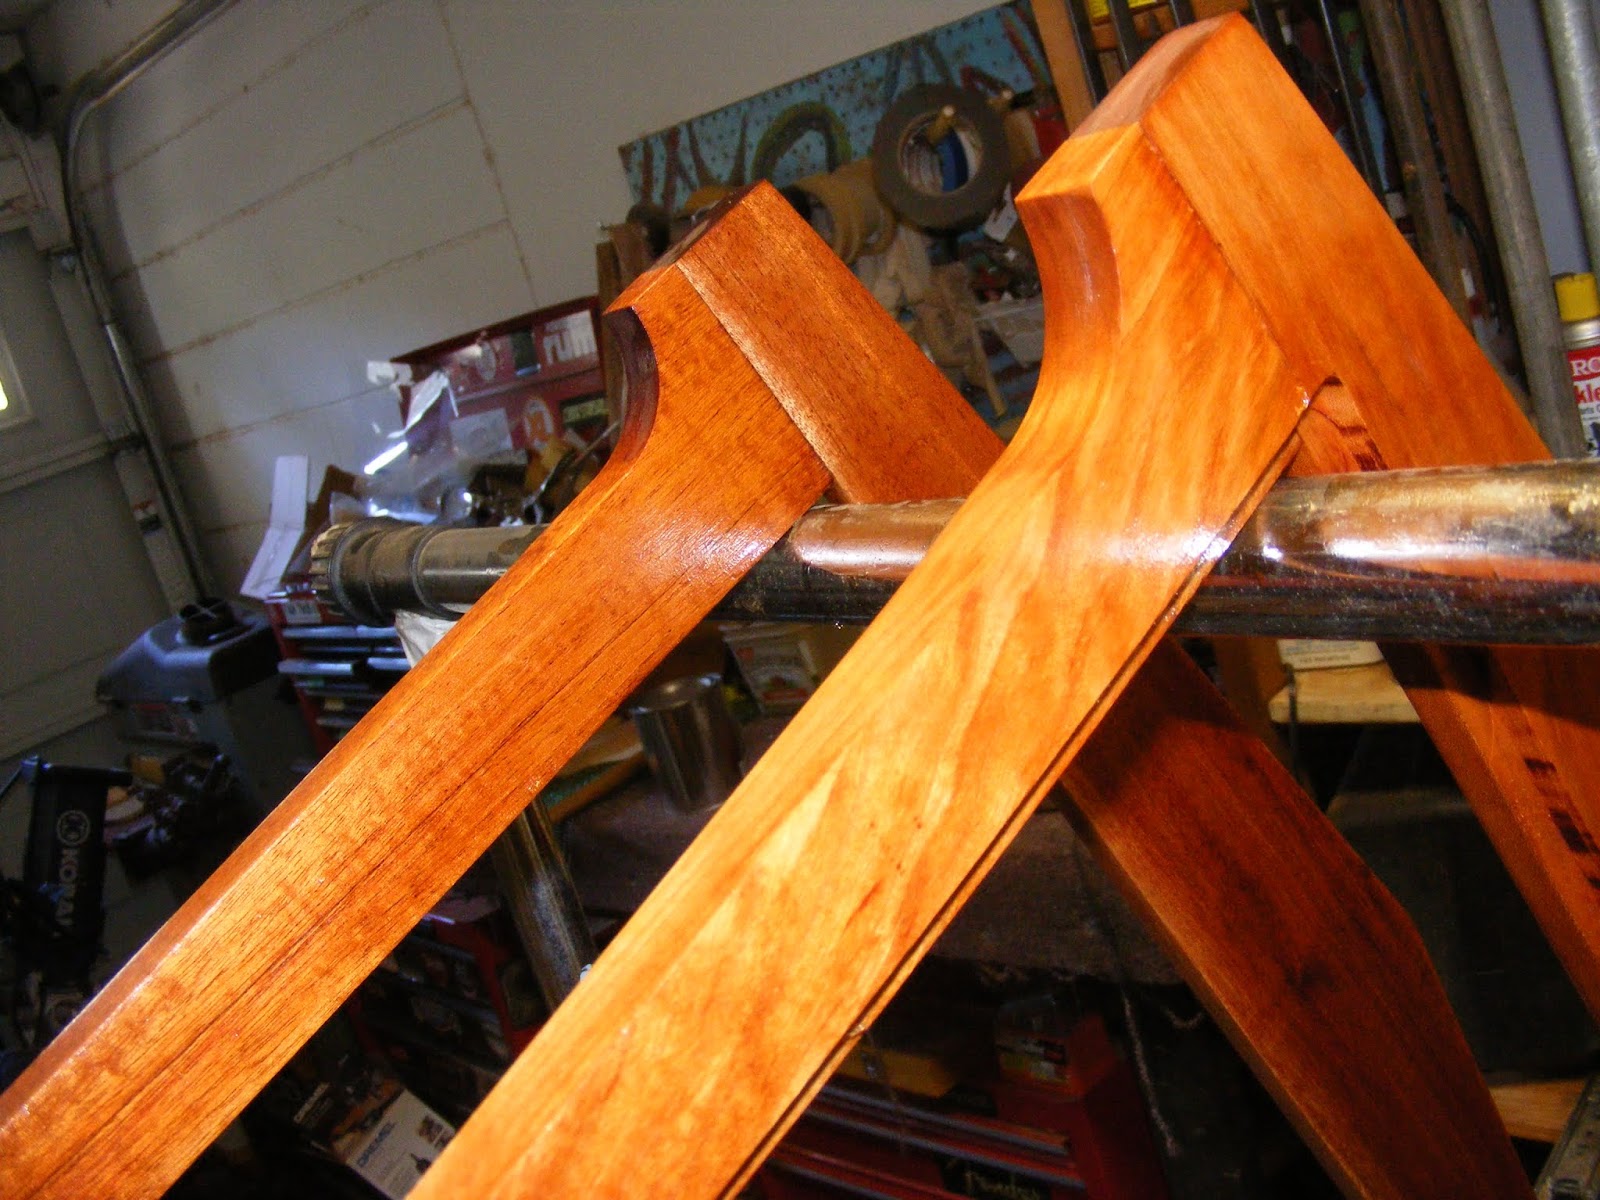
Here's the maple frame.


We'll fast forward past a lot of finish work.  Basically, it's just the frames hanging up and drying.


Next, I ordered the mirror's themselves from Holiga glass here in Lutz.


Next, I put lots of tabs around the back of the frame to hold the mirror safely.


And here's what they looked like once finished.  This is the maple mirror.


This is the mahogany mirror.


I gave the mahogany mirror to a longtime friend/lifesaver Paul.  Honestly, I probably owe him an entire household set made of out mahogany.  Yeah, it's true.

The maple mirror was a gift for my friend Jeannie.  She had a celebration last year.  I told her I was still working on her project, but it would be coming.  I was finally able to give it to her about two weeks ago.  I didn't know it then, but Jeannie loves all sorts of furniture.  So I guess you could call it serendipity that I made the perfect gift for her.  She was ecstatic with it.  

I'm glad the projects are now finished.  That means I never have to build another one again.  I kid, but not really.  It wasn't so much of a project so much as an albatross hanging around my neck.  But I will say this.  I have gotten better at finish work.  Thank you Odie's Oil.

Tuesday, March 20, 2018

Cutting The Cutting Boards

Ten years ago my Dad started woodworking as a hobby.  One of the first things that was suggested for him to build was cutting boards.  So he glued up a number of butcher block cutting boards.  He finished a number of them.  We use three of them in the house to this day.  Many more were given to relatives for presents.  However, there were still two that he never finished.

He put them away, and never got back around to them due to other projects.  Not to mention they were tucked away behind other equipment and wood.  I was cleaning out the garage when I came across the two unfinished boards.  It was then that I decided to finish the projects.

First up, this is what I was working with.


It was then that I found out why these were never finished.  I was thinking of planing the boards through my thickness planer.  However, I once I learned that they were constructed end grain up I thought better of it.  With the end grain sticking straight up a planer would chip it up in no time.

So I aimed to run it through my thickness sander.  That's when I discovered that the thickness planer needed some work.  Again, that's one reason the boards had been sitting for a while.  Without a thickness planer it would have to be sanded by hand.  Luckily, I had my mind set out to finish this, so it was onto work.

Luckily, I didn't have to sand  it all by hand.  I had the help of my belt sander and my random orbital sander.  So, I'll make a long story short.  There was a lot of sanding involved.  I started at 36 grit on my random orbital sander and 40 grit on my belt sander.  After that I sanded all the way up to 400 grit.

Here's what it looked like after all the sanding.


Pretty sweet right?  Dad did a good job putting these together.  The are made of maple, black walnut, and cherry.  So now the next part was to put the first coats of sealer on them.  I've been using a tung oil plus catalyst mix for my latest projects.  I love it since it's idiot proof.  Even I can't screw it up and that's saying something.  So here's a photo of the boards after one coat of the tung oil mix.


After this I will start applying butcher's block wax.  Once a few coats are added they will be ready to go.  The good news, is that, I already have a buyer interested in them. 

I have to say, I am extremely happy with the way things turned out.  I was also able to finish another project.  I have plenty of projects started, it's just finishing them that seems to be the problem.  So to cross one off my list feels good.

Thursday, January 26, 2017

Quilted and Birdseyed? It Does Exist!!!

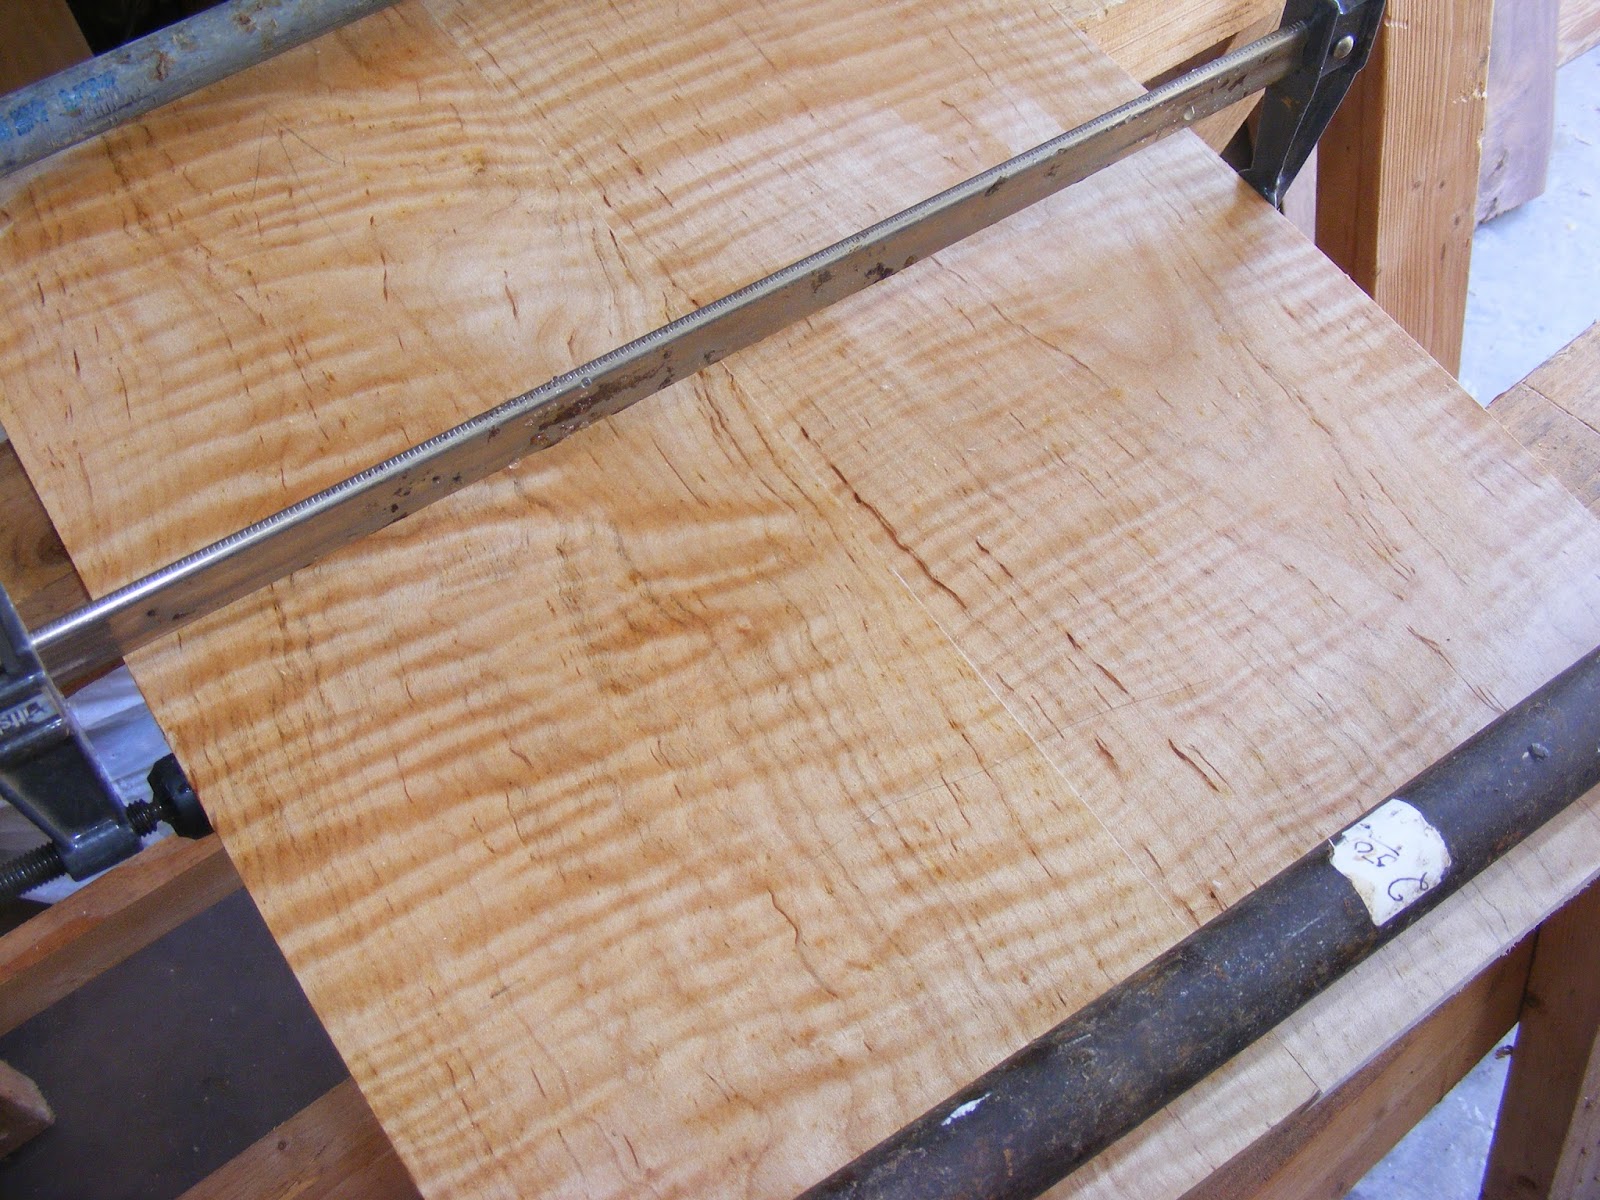
So I am always on the quest for tone, but in between then I am always on the look for more tools, parts, and wood.  And boy did I find some.  It seems that Pete from Viable Lumber had a maple tree from California dumped on his doorstep.  When they cut it they found this:


That's right.  It the exclusive curly maple.  But that's not all there is!  A birdseye pattern made it in there too!


This is a pretty good chunk of wood.  This particular piece was about four inches thick.  Here's some more wood goodness.


I know you can't tell from this picture, but that piece is more than three feet across.  (Dang near four.)  The length of this is right around eight feet. 


You can see the parts where the tree branches split, but there is still enough space to cut out a one piece maple top.  And you could easily get a rough 1 inch to make a smooth 3/4 inch top.  That way you can put an arch on it, and it will be a solid curly maple top.

Some of you might say, "Hey, I've seen Epiphone guitars that have tops like that.  Why is this so special?"  Well, my answer is this.  What is actually on the really nice Epiphone guitars is a mahogany body with a plain maple top.  Then they put a paper veneer over that maple top so it looks like it is curly maple.  The pattern you are seeing is actually printed out on a big roll.  It's not wood, it's paper. 

This is the real deal.  My Dad's friend said that the last time he checked, the price of highly figured curly maple like this was $96 a board foot.  So feel free to do the math on what this piece of wood costs.  And before you make me an offer, know this.  It's already off to the Florida Woodturning Symposium.  It might be sold even as I type this. 

I hope whoever buys this makes some great things out of it.  Since it's going to a wood-turners meeting, I'm guessing it will be made into things that can be turned on a lathe.  So bowls, plates, cups and such are all likely to be made from this lovely wood.  I wish the best for whoever purchases it. 

Monday, September 15, 2014

Project 7, Part 2, Dusty Beginnings

Here's Part 1:  http://angjellockheart.blogspot.com/2014/08/project-7-project-to-end-all-projects.html

I have made quite a bit of progress so far.  More so than I would have thought.  So I will write about my progress along with the pictures I have taken.

First up is the three piece neck.  You really waste a lot of wood cutting a neck out this way, but it's insanely strong, and will last forever. 


That's all I can do on the neck for the time being.  I have to route a line down it for the truss rod next.

Next, I thought I would take a picture of the cut out neck and body.  The next step on the body is to route out places on it.  That's why it's only half cut out.


The next step was to start gluing the top together.  I was going to use this awesome piece of bookmatched rosewood.  However, after searching for a week, I couldn't find it.  So I gave up and decided to use this awesome piece of maple I've had for a few years.


So it glued up nicely.  Here's what it looked like when I cut it out.

 
Here's what the flame maple looks like when you put a little water on it.  It makes the grain "pop" out more.


Here are the top and bottom of the body pictured together.


Here is the black walnut with some water on it to make the grain "pop."


With wood, you sometimes don't know what you have until you cut and sand it out.  I think I lucked out with these pieces.

Next up was cutting out the control cavities.  I'm 90% there.  I honestly, just need more sandpaper for my spindal sander.


So next up I will doing more routing on the body.  And once I get some sandpaper I will be enlarging the holes to where they should be.