Showing posts with label black walnut. Show all posts

Tuesday, March 20, 2018

Cutting The Cutting Boards

Ten years ago my Dad started woodworking as a hobby.  One of the first things that was suggested for him to build was cutting boards.  So he glued up a number of butcher block cutting boards.  He finished a number of them.  We use three of them in the house to this day.  Many more were given to relatives for presents.  However, there were still two that he never finished.

He put them away, and never got back around to them due to other projects.  Not to mention they were tucked away behind other equipment and wood.  I was cleaning out the garage when I came across the two unfinished boards.  It was then that I decided to finish the projects.

First up, this is what I was working with.


It was then that I found out why these were never finished.  I was thinking of planing the boards through my thickness planer.  However, I once I learned that they were constructed end grain up I thought better of it.  With the end grain sticking straight up a planer would chip it up in no time.

So I aimed to run it through my thickness sander.  That's when I discovered that the thickness planer needed some work.  Again, that's one reason the boards had been sitting for a while.  Without a thickness planer it would have to be sanded by hand.  Luckily, I had my mind set out to finish this, so it was onto work.

Luckily, I didn't have to sand  it all by hand.  I had the help of my belt sander and my random orbital sander.  So, I'll make a long story short.  There was a lot of sanding involved.  I started at 36 grit on my random orbital sander and 40 grit on my belt sander.  After that I sanded all the way up to 400 grit.

Here's what it looked like after all the sanding.


Pretty sweet right?  Dad did a good job putting these together.  The are made of maple, black walnut, and cherry.  So now the next part was to put the first coats of sealer on them.  I've been using a tung oil plus catalyst mix for my latest projects.  I love it since it's idiot proof.  Even I can't screw it up and that's saying something.  So here's a photo of the boards after one coat of the tung oil mix.


After this I will start applying butcher's block wax.  Once a few coats are added they will be ready to go.  The good news, is that, I already have a buyer interested in them. 

I have to say, I am extremely happy with the way things turned out.  I was also able to finish another project.  I have plenty of projects started, it's just finishing them that seems to be the problem.  So to cross one off my list feels good.

Sunday, July 17, 2016

Cuts Like A Knife.... (But Really, It Does Feel So Right.)

So my friend Matt has a neat hobby.  He makes knives.  I always thought that was a neat hobby.  I mean, I build guitars, and that involves wood and electronics.  But knives require both wood and metal working. 

So I've always been in awe of those who make high quality knives.  I remember watching a program on the Discovery Channel about a man who was a renowned knife maker.  His specialty was knives that were thin like fillet knifes, but could bend side to side without breaking.  It really surprised me at what a high quality knife could do.  It would bend without breaking, but still be extremely sharp.

Matt asked me if I had any black walnut or was planning on getting any.  I had to check my woodpile, but it turns out both Matt and I were in luck.  I had one piece in my pile that was clearly marked black walnut.


It turns out he needed black walnut for making knife handles.  So, I asked him how big he needed the wood blanks, and he let me know that they needed to be 12 inches X 4 inches X 3/8th of an inch.  I was wondering if he was working on a machete with pieces of wood that big.

So I got out the wood and went to town on the bandsaw, thickness planner, and thickness sander.  After all my work, this was my results.


The blank on the left is mahogany.  Matt didn't ask for it, but I decided to show him what one would look like.  Him and his family where happy with the results.  It was then they informed me that one of those blanks where not used for the side of one knife.  It would be cut into quarters, and then used for two knives.  So I felt better about only having one piece of mahogany. 

I was worried that the knots on the wood would be a problem, but Matt said they would just add character.


But the gift giving was not over.  It turns out that Matt had a present for me.  This:


Whoa!  It's almost too nice.  Really, it's just too nice.  This knife is so sharp that I was cutting steak, and it cut the plate.... in half.  And that plate was made an actual plate, not a paper one.  This knife was so sharp that when I was washing it, it cut the water into hydrogen and oxygen.  Yes, it's that sharp.

So I am thankful for the gift.  I know they're made to be used, but dang, I don't know what I am going to use it on.  Maybe if I get a hunk of giant dead animal flesh?  Or the leg of some sort of biggish animal?  I just have to make sure I don't drop this knife on my foot.  I'm sure it would go right through. 

Monday, September 15, 2014

Project 7, Part 2, Dusty Beginnings

Here's Part 1:  http://angjellockheart.blogspot.com/2014/08/project-7-project-to-end-all-projects.html

I have made quite a bit of progress so far.  More so than I would have thought.  So I will write about my progress along with the pictures I have taken.

First up is the three piece neck.  You really waste a lot of wood cutting a neck out this way, but it's insanely strong, and will last forever. 


That's all I can do on the neck for the time being.  I have to route a line down it for the truss rod next.

Next, I thought I would take a picture of the cut out neck and body.  The next step on the body is to route out places on it.  That's why it's only half cut out.


The next step was to start gluing the top together.  I was going to use this awesome piece of bookmatched rosewood.  However, after searching for a week, I couldn't find it.  So I gave up and decided to use this awesome piece of maple I've had for a few years.


So it glued up nicely.  Here's what it looked like when I cut it out.

 
Here's what the flame maple looks like when you put a little water on it.  It makes the grain "pop" out more.


Here are the top and bottom of the body pictured together.


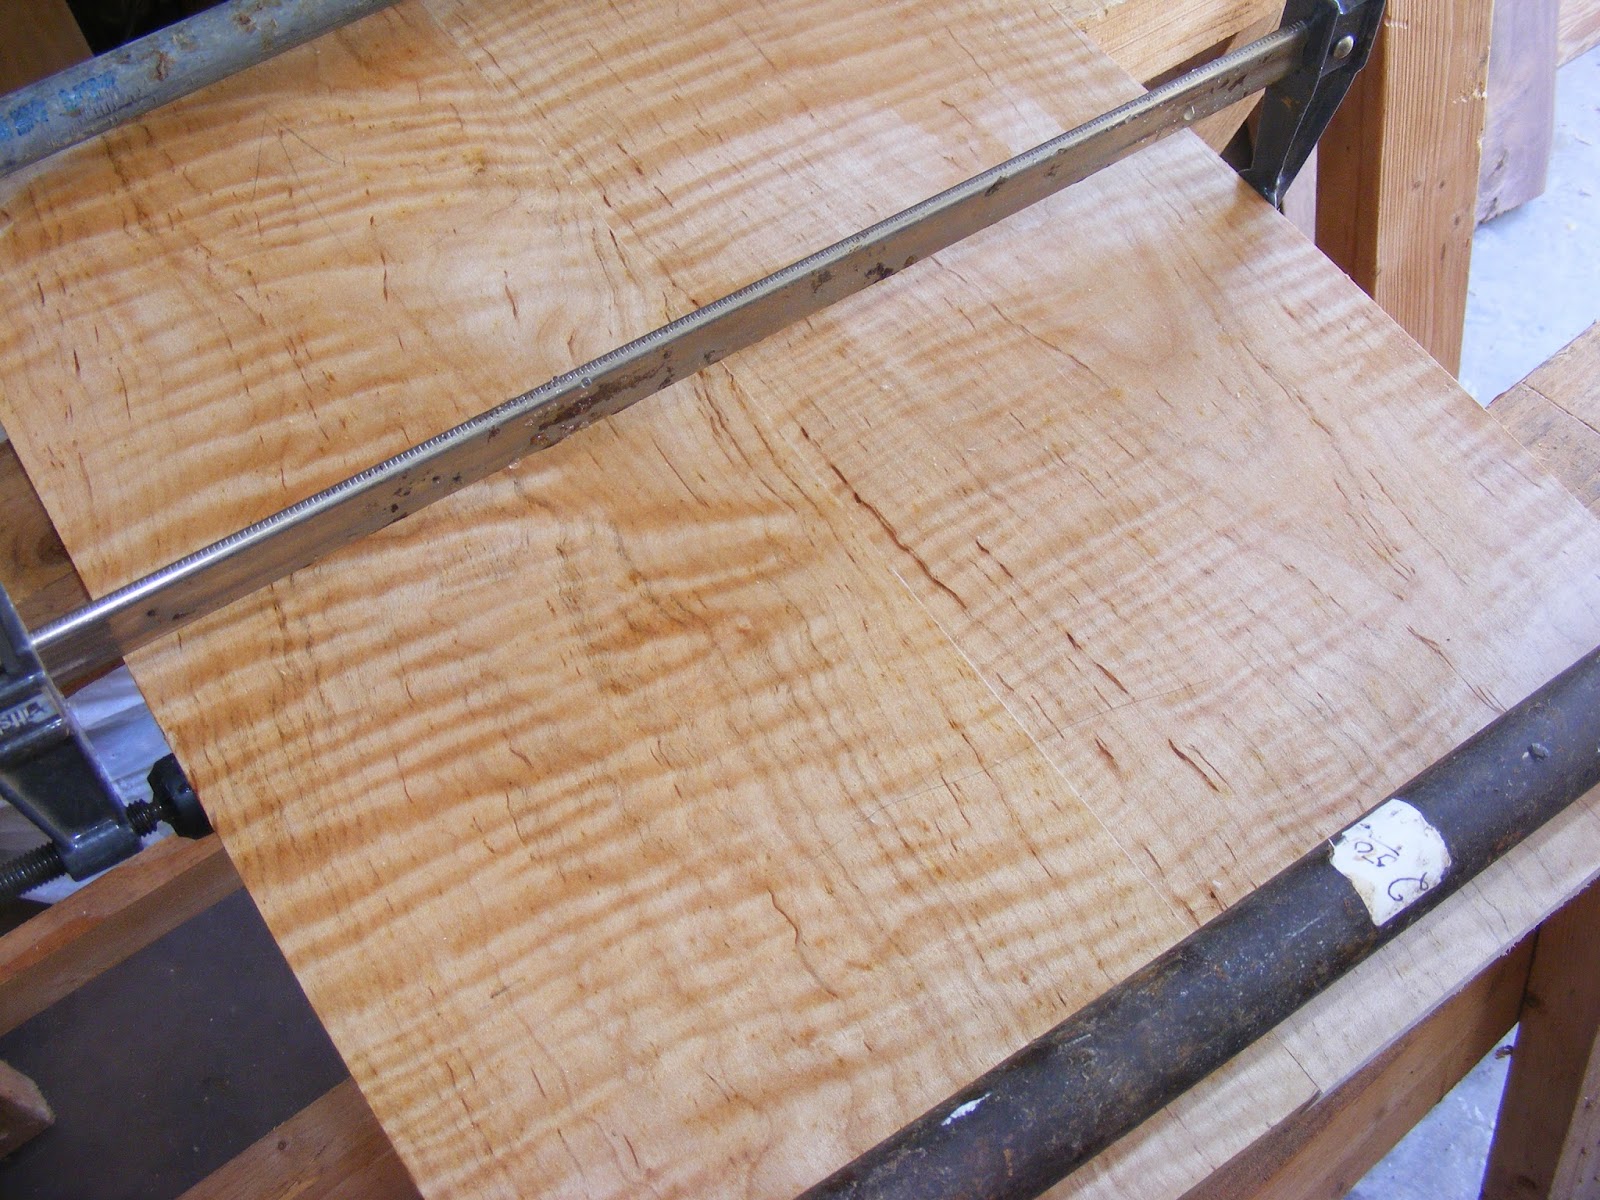
Here is the black walnut with some water on it to make the grain "pop."


With wood, you sometimes don't know what you have until you cut and sand it out.  I think I lucked out with these pieces.

Next up was cutting out the control cavities.  I'm 90% there.  I honestly, just need more sandpaper for my spindal sander.


So next up I will doing more routing on the body.  And once I get some sandpaper I will be enlarging the holes to where they should be. 

Thursday, August 21, 2014

Project 7, The Project To End All Projects

No, not really.  I hope this won't be the last of my projects.  But enough of my shtick.  I am starting a new project.  It is going to be a copy of a 1954 Les Paul Custom.  Here's what one looks like.


I would be making a few changes to it.  I will be making it mostly out of black walnut.  I will also be adding an archtop tailpiece out of it.  The neck will be a three piece walnut neck. 

Let me start at the beginning.  First, I acquired some black walnut in West Virginia.  Here it is in it's rough sawn form.


So I cleaned it up by running it though the planner/joiner.


It really cleans up nicely.  Once it gets some finish on it, it looks even better. 
 
So the next thing I did was join up the body pieces.


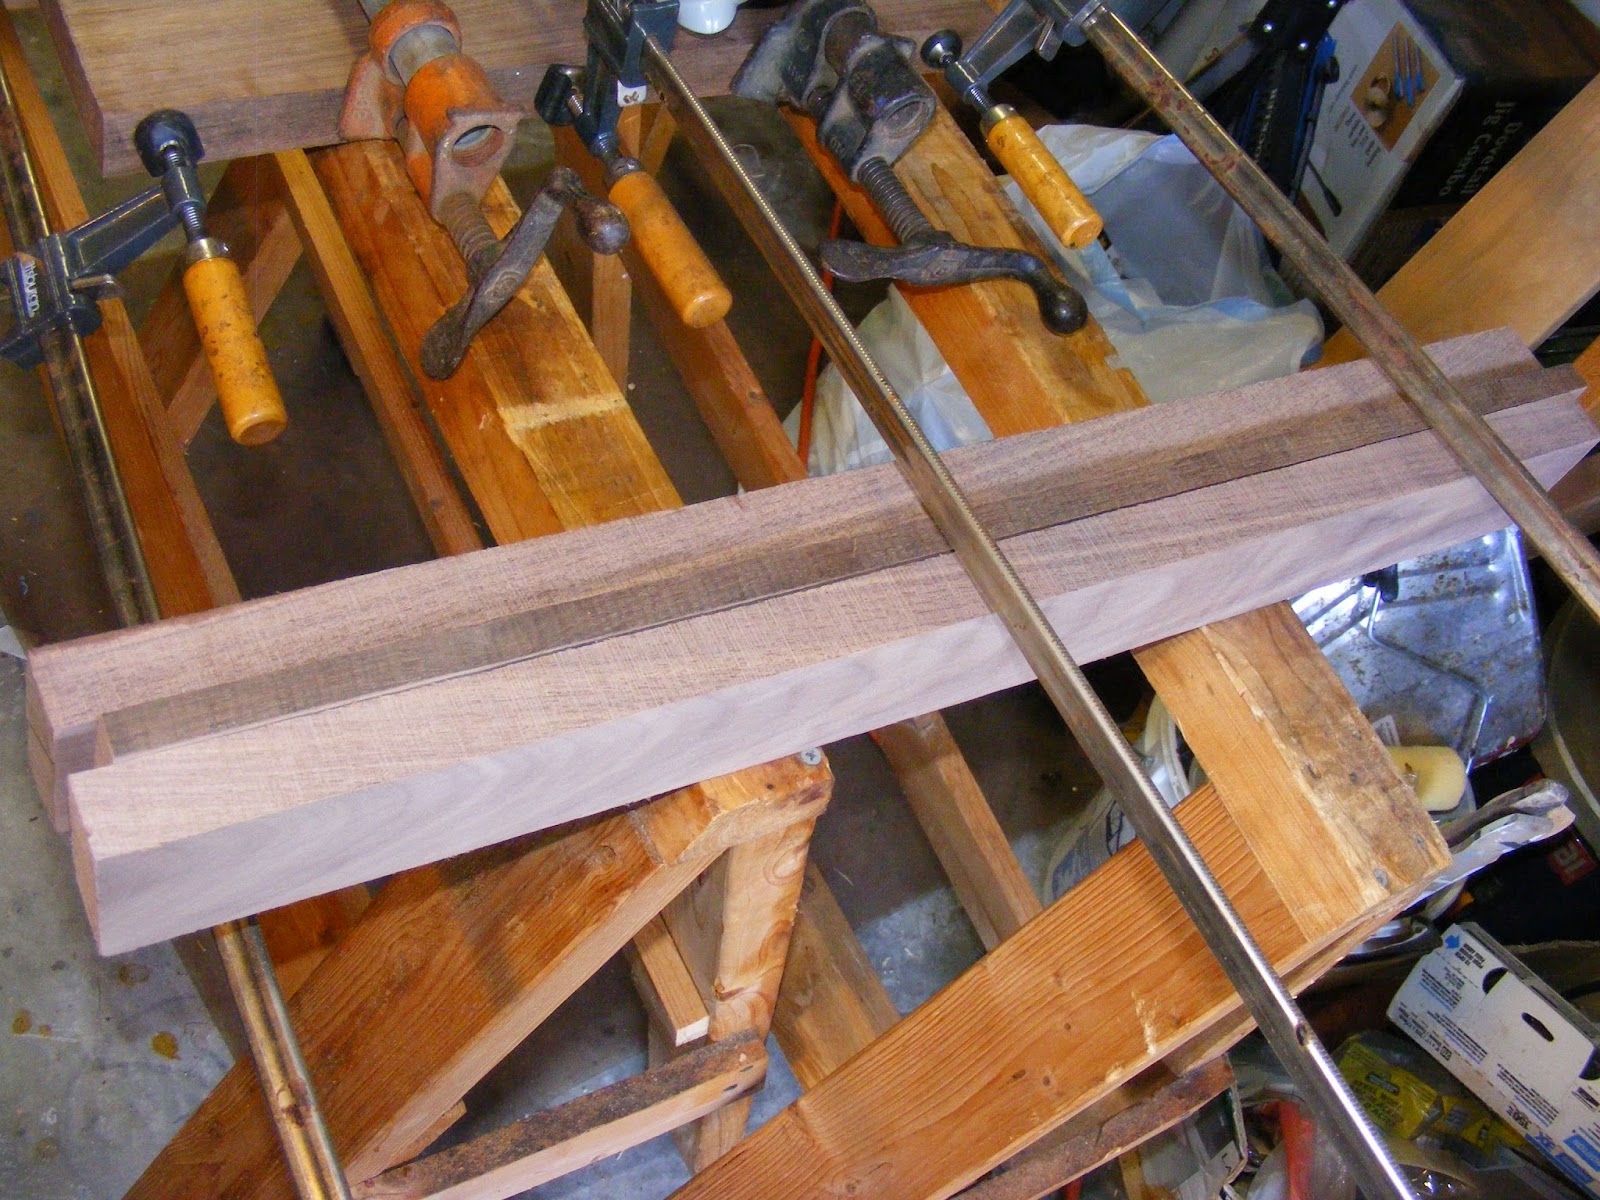
I then cleaned up the three pieces of walnut for the neck.  I then glued them together.


So I do have a few goals for this guitar.  Instead of painting it black like the Gibson version, I am going to dye it black.  That way it's still dark, but you can see the grain pop through.  I am also going to use gold hardware like the original.  I am still up in the air about what type of wood I will be using for the top.  However, I am trying to track down a certain piece of wood for it. 
 
The good news is that I will always add lots of pictures, and continue to update my blog.  I am really digging this project, so hopefully it will turn out pretty good.  Stay tuned!


Thursday, August 7, 2014

Black Walnut Acquisition Day

So when I was in West Virginia on vacation, Dad and I went to see this guy about some wood.  It turns out the guy had bought out a barn of the stuff, and was selling it at very good/great prices. 

Wood buyers have very different wants when it comes to wood.  As a luthier, I am looking for very straight grained wood with no knots.  Wood turners want the pieces where a limb joins up with the body of a tree.  And some builders like highly figured wood with knots. 

However, for guitar building I can see why some builders will only take 1 in 100 pieces.  I went through this seller's entire stack of black walnut and came away with 5 pieces of wood.  When I bought the wood, it was still rough sawn, so I'm not sure how good it was going to be. 

Today I laid out the wood for planning.  Here's what I bought.


As you can see, it was kind of a crapshoot.  For $20 I couldn't complain.  I figured I had enough wood for one Les Paul type of guitar.  Here's what I got after I planned the wood.


Again, very clean grained wood, with no figure in it.  There are some places I will have to cut around, but I can say with certainty that I will be able to get one guitar out of it.  I know it looks very light colored in the pictures, but once I add water or finish to it, the wood will darken up.  This wood is extremely dry so I can start working on it right away. 

I will continue to update as my project progresses.  I know what I hope to do with this project, but we'll see how it actually turns out. 

Tuesday, May 1, 2012

The Rise of the Phoenix .... Guitar

Here's a previous post so you know what I am talking about:

http://angjellockheart.blogspot.com/2012/04/i-am-terrible-luthier-but-im-working-on.html

Basically, I am trying to bring back a guitar from the dead  (The guitar known as Project 5.)  A guitar that I happened to screw up, but am now in the process of fixing my F-ups.  So far it's going great.  In the last post you can see how Dad made a plug for  the hole in the back.  After the glue had dried, I ground down the big part of the plug, and then used a hand planer to make it all smooth.  Here's the picture:


Right now I am in the process of adding polyurethane to blend in the wood.  It's going pretty good so far.

The other main problem I had was the truss rod blowing through the back of the neck.  I put a patch on it, and shaped it into place.  It's also looking good, and I'm putting a finish on the back of the neck.  Here's the photos:


Before I started going too crazy with the poly, I wanted to make sure my patch would hold.  I still had the old strings hanging lose on the guitar, so I tightened them up.  Great news, the neck held.  I ended up playing her for about 10 minutes, and it was great.  Except for where the strings had time to rust over the last year and a half.  That wasn't too fun.  

So I am very happy with the way things are going.  I'm not sure how much poly still has to go on the neck, but I think it's close to being finished.  Stay tuned for the next blog where hopefully I will be able to show the guitar in it's completed state.  Oh, and also put some new strings on it.

Saturday, April 28, 2012

I Am A Terrible Luthier, But I'm Working On It

For quite a while now I have been building a guitar I've called "Project 5."  Here's the original post describing the ideas I had behind it.

http://angjellockheart.blogspot.com/2011/02/not-another-guitar-project.html

Here's a picture of the guitar that I based my design on.


But I wanted it to have that jangle and style of the Gretsch White Penguin.

Here is what I have come up with so far.


Not bad, but I have made a number of mistakes.  I have fixed most of them, but I have two serious ones.

The first big mistake I made was drilling a hole out the back of the body.  You can see the hole in the picture above.  So I decided to plug the hole.  I would like to thank my Dad for woodturning a piece of black walnut so that I could fill the hole.  Here's the piece he did.


With a bit of Titebond 2 glue, and some time, I will be able to fix my screw up.  After the glue dries I will sand down the plug, and cover it with lacquer.

The next mistake was as serious as it gets.  I screwed up royally.  I screwed up so bad that I put this guitar away for over a year and a half.  Simply put, I made the neck too thin.  Then, when I was shaving it into shape, I cut through, so that the truss rod was showing out the back of the neck.  

So, after spending some time away from the project, I had a friend on the net show how to put a patch over a broken neck.  His was way worse, so I figured I could save this guitar since it was not as bad.  This is what I came up with.


It may not be pretty, but it will work.  I tested the movement on the neck, and it seems to be holding.  I have sanded it even, and applied tung oil to fill the grain.  Once I get the hole on the back sanded even, I will start applying polyurethane to both the filled hole and the neck.