Showing posts with label Tenor guitar. Show all posts

Sunday, February 10, 2019

The Tenor Guitar Project: Part 4


Next up on my to-do list for the guitar was to cut the F-holes.  I've always hated doing this part for a few reasons.  First, spruce wood is such a straight grain that it will split easily if you cut it wrong.  Second, I have a really crappy jigsaw cutter.  I don't use one enough to justify buying a higher end one.  So I have to work with what I have.  

First up I drilled holes where I could put the jigsaw blade.  I also put them in places where I would want to turn the wood around easily.  So we'll make a long story short, and say, "Boom, they came out this way."  Actually they needed a lot of sanding, cutting, filing, and worked on with various Dremel tools.  


They are definitely not perfect, but this is a blues tenor guitar.  It's supposed to have mojo.  My next job was to cut the holes for the pickups, but before I could do that I had to make sure where the bridge was going to be placed.  

Onto the template!


So I have everything laid out perfectly, and of course, that's when you run into trouble.  You see, I had put such a curve on the top plate the bridge didn't want to fit.  So I shortened the width of the bridge, and reshaped the bottom of it.


I'll admit, I may still need to fine tune it a bit later.  As you can also see in the photo above I marked (with an X) where the most pressure would be pressed on the top plate.  It is important that I mark it so I know where to put my bracing underneath.  

So now, I marked my X bracing on my template, and drew the where the pickups will go.  


As you can see I cut the holes for the pickups out with my trusty scalpel.  Now it came time for me to mark out where the pickups go on the top plate.  


It was time to once again use my trusty mini router.  This thing is such a life saver.


And it came out pretty good.


The pickup fits right in the hole.  So now I do the same thing for the bridge pickup.


It's almost perfect.  You see, the pickup rings are flat, and the top has a heck of an arch to it.  So I am going to have to design pickup rings for the flat pickup rings to sit onto.  The ones I will design will have a inside curve to them so they will sit flush with the body.  It will also help bring the pickups closer to the strings.  

The neck on this guitar is designed like an archtop guitar so it sits up a little higher.  The bridge is also high up, so that means I was always going to need high pickup rings to bring the pickups to their correct height.  

Now it was time to add the X bracing.  In this photo I have already rough cut the bracing beams.


My next step was to draw out where the bracing should go.


I already cut the bracing into shape and am dry fitting it.


Next up it was time to glue.


After a bit it was time to start on the other bracing beam.  


As you see I had to cut the beam in half.


Again, I cut the brace into shape and then dry fitted it.


Now it was time to "Give em' the clamps!!!"


And I perform the same steps for the other side of the brace.  I cut and dry fit it.

Then it's time to glue it up and clamp it.


Let me give it 48 hours to dry, and I'll get back to it.  

So that's where I am so far.  I'm moving right along with this project.  Stay tuned for more blog posts about it.  

Thursday, January 31, 2019

The Tenor Guitar Project: Part 3

For Part 1:

https://angjellockheart.blogspot.com/2019/01/new-yearnew-project-tenor-guitar-project.html

For Part 2:

https://angjellockheart.blogspot.com/2019/01/the-tenor-guitar-project-part-2.html


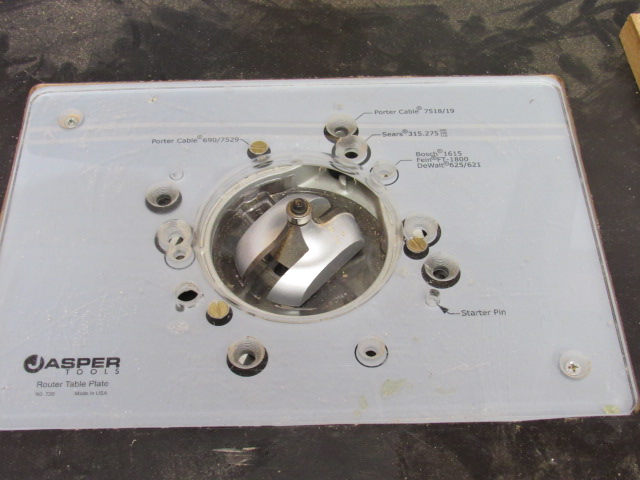
In my last post I had just finished working on the body of the guitar.  I still needed to round over the back of the body.  This lead to an awkward problem.  I don't use my table router that much, so I was trying to get to set up correctly.  Here's my table router with special routing bit.


I would have one problem which would then lead to another problem.  My routing machine was acting up.  I won't go into the long version, but I actually had to break out the instruction manual to find the problem.

Do you see the little spring?


That spring moved from where it was supposed to be.  This lead to the router not doing what it was supposed to.  I had looked all over the router, and it was only when I read the manual I found what was wrong.  All I had to do was move the spring back into place, and it worked just fine.

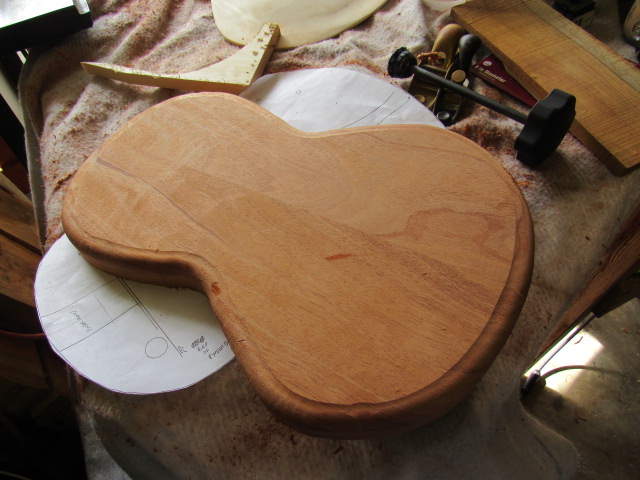
Once I had the router set up correctly it only took me ten minutes to cut the body correctly.


I made about four or five passes on the router, slowly adjusting the bit little by little.  Now that I had cut the edge how I liked, I broke out the hand rotating palm sander.  I used heavy 60 grit sandpaper to smooth out the sides.


Now onto the top plate.  I had carved the arch on the top of the top plate, but now I had to carve away its inside.  Since I'm a modern guy, I decided to use some modern tools.  I use a mini-routing bit on a Dremel tool.  I have a mini-router base that the Dremel then sits in.

After marking how far I want to cut the inside of the top plate I used my mini-router to cut away the inside.


Next up I used my hand planers to even out inside.


Next up I used what is now becoming my favorite sander, my rotating hand palm sander.  Notice how well it smoothed the inside?


I laid out my parts for this build.  Notice the four string humbucker from C.B. Gitty?  Cool, huh?


Now, it was literally back to the drawing board.  I put my templates on the table so I could cut out the control cavity and F-Holes on them.


On a funny note, I've had a surgical scalpel kit for almost two decades.  This is the first time I've ever got to use it.  I found out that the scalpel is much better than scissors for myself.  At least, I am more accurate with the scalpel.

Now I finally got to break out my new router (not to be confused with the table router.)  I had to buy a new one because the old one broke.  In all fairness it was older than me.  They didn't even make replacement parts for it anymore.

So it was  now time to do some routing.  First I used a forester bit to cut away wood I didn't need.  Then I routed the rest out.


Now it was time to go back to the mini-router.  I had to recess the control cavity cover.  First up, I made sure to measure where I was cutting very carefully.


This is after I used the mini-routing bit.


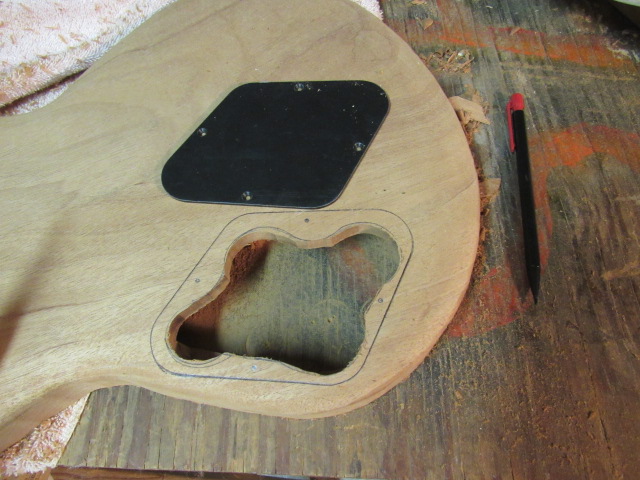
Then it was time to check the fit of the control plate.


It turned out pretty good.  

So we'll stop right here.  There's lots more luthiery to come.  Stay tuned for part 4.  

Sunday, January 27, 2019

The Tenor Guitar Project: Part 2

For Part 1:

https://angjellockheart.blogspot.com/2019/01/new-yearnew-project-tenor-guitar-project.html


My work on the tenor guitar project has been progressing quickly.  Luckily I have been taking lots of photos to show my work on here.

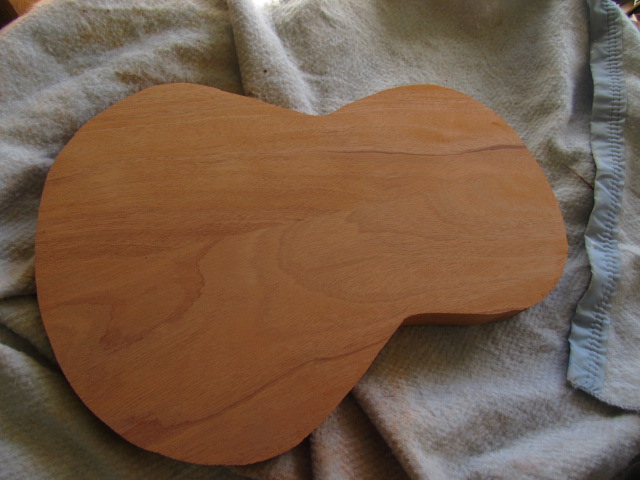
In my previous post I had just glued up pieces of mahogany for the guitar body.  My next objective was gluing the pieces of mahogany together.  I used my planer/edger to put a nice clean and even edge on the pieces of wood.  I also ran the pieces of mahogany through a thickness planer so they would be the perfect thickness.


Next up I got serious.  I broke out the pipe clamps.  For those who don't know pipe clamps will squeeze anything together.  Anything.


I ended up leaving this clamped for five days.  Mainly due to bad/cold weather, and the fact that I was working on other things during this time.  So while the glue dried it was time to work on the top plate.

I glued the pieces of spruce together, and gave it two days to dry.  Now came to the fun part.  I was finally able to put a template down on the spruce, and draw the outline.


I cut the top plate out with a bandsaw, and smoothed the edges with a spindle sander.  

Next it was time to start cutting the arch top.  If you read or saw Robert Bennedetto's book and/or DVD, "How to build an archtop guitar," he uses this method to help guide a luthier on how to cut an archtop correctly.

I measured the edges at 1, 2, and 3 inches.  I marked it with a pencil.  


Next, I took the smallest drill bit I had and marked the depth using a drill press.


Next it was time to break out the hand planers.  


It looks rough, but I kept at it.


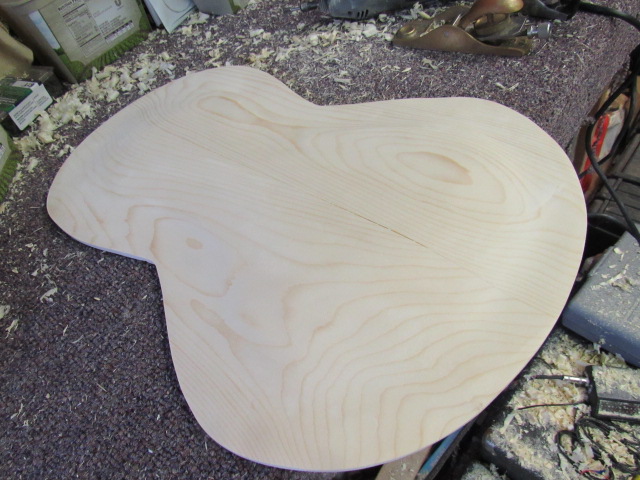
Can you believe it looks like this now?  Well, it took a lot of sanding to achieve this look.  The good news is I managed to cut the top very proportionally.  In other words, one side matches up perfectly with the other.


Admittedly, cutting all that wood made a heck of a mess.


Now it was time to cut out the body.  First, I sanded it down smooth.  Next it was time to draw out the template on the body.  


The next step was to cut out the body on the bandsaw.  After that I used the spindle sander to even out the edges.


It was now time to sand the body down a little more.


The woods' grain is really starting to pop now.  

Next I flipped the body over so the inside was face up.  I marked the body one inch from the edge.  


Now it was time to do some serious routing.  Let's just fast forward to where I am knee deep in wood shavings.  Just know this step took a while.


Yeah, I was able to toss some of the shavings around the yard.  This is what I am was working with after using the router.


It was now time to use a hand/palm sander on the inside of the body.  That cleaned it up a bit. 


And here's a shot of the top and sides.  I had just sanded the sides with the spindle sander.  I also used a hand sander and a hand/palm rotary sander to sand the entire body.  


Please realize that for it to look the way it does a lot of sanding occurred.  I know these photos may make it seem like it magically came out the way it did, but that's pretty far from the truth.  A lot of time and effort were put in.  And a good amount of that time I spent sanding.  Thank goodness for all my mechanical sanding tools.  

I managed a lot of work in a short period of time.  But the work is still ongoing.  Stay tuned for part three.