https://angjellockheart.blogspot.com/2019/01/new-yearnew-project-tenor-guitar-project.html
For Part 2:
https://angjellockheart.blogspot.com/2019/01/the-tenor-guitar-project-part-2.html
In my last post I had just finished working on the body of the guitar. I still needed to round over the back of the body. This lead to an awkward problem. I don't use my table router that much, so I was trying to get to set up correctly. Here's my table router with special routing bit.

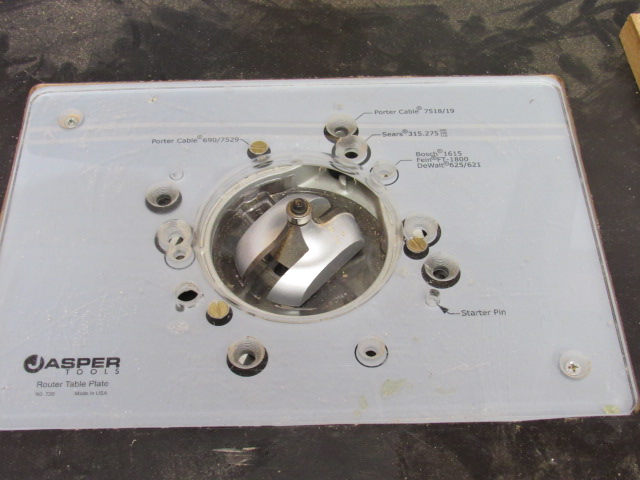
I would have one problem which would then lead to another problem. My routing machine was acting up. I won't go into the long version, but I actually had to break out the instruction manual to find the problem.
Do you see the little spring?

That spring moved from where it was supposed to be. This lead to the router not doing what it was supposed to. I had looked all over the router, and it was only when I read the manual I found what was wrong. All I had to do was move the spring back into place, and it worked just fine.
Once I had the router set up correctly it only took me ten minutes to cut the body correctly.
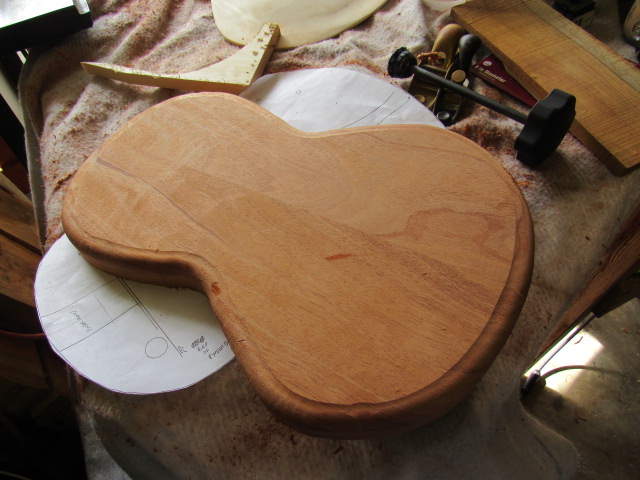

I made about four or five passes on the router, slowly adjusting the bit little by little. Now that I had cut the edge how I liked, I broke out the hand rotating palm sander. I used heavy 60 grit sandpaper to smooth out the sides.


Now onto the top plate. I had carved the arch on the top of the top plate, but now I had to carve away its inside. Since I'm a modern guy, I decided to use some modern tools. I use a mini-routing bit on a Dremel tool. I have a mini-router base that the Dremel then sits in.
After marking how far I want to cut the inside of the top plate I used my mini-router to cut away the inside.

Next up I used my hand planers to even out inside.

Next up I used what is now becoming my favorite sander, my rotating hand palm sander. Notice how well it smoothed the inside?


I laid out my parts for this build. Notice the four string humbucker from C.B. Gitty? Cool, huh?


Now, it was literally back to the drawing board. I put my templates on the table so I could cut out the control cavity and F-Holes on them.


Now I finally got to break out my new router (not to be confused with the table router.) I had to buy a new one because the old one broke. In all fairness it was older than me. They didn't even make replacement parts for it anymore.
So it was now time to do some routing. First I used a forester bit to cut away wood I didn't need. Then I routed the rest out.


Now it was time to go back to the mini-router. I had to recess the control cavity cover. First up, I made sure to measure where I was cutting very carefully.
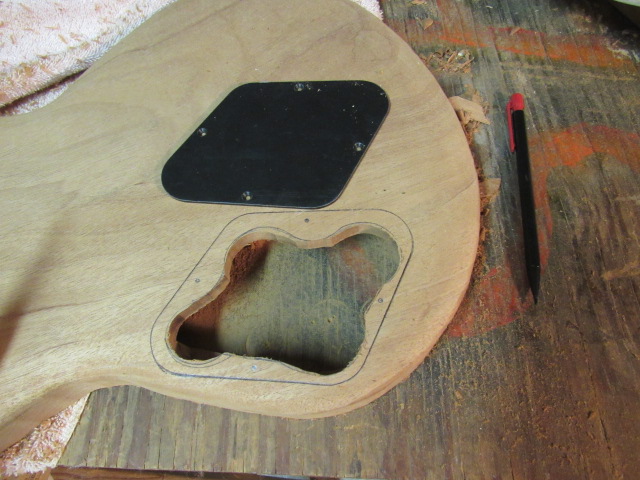
This is after I used the mini-routing bit.

Then it was time to check the fit of the control plate.

It turned out pretty good.
So we'll stop right here. There's lots more luthiery to come. Stay tuned for part 4.
No comments:
Post a Comment